Braids are a timeless hairstyle, evolving with new techniques and trends over the years. Recently, a trend making waves on social media are butterfly braids. These playful, voluminous braids are all about texture and drama, adding a unique flair to your look. With their whimsical vibe and easy customization, butterfly braids are a must-try style for anyone looking to add a bit of fun to their look. Here’s everything you need to know about butterfly braids.
What Are Butterfly Braids?
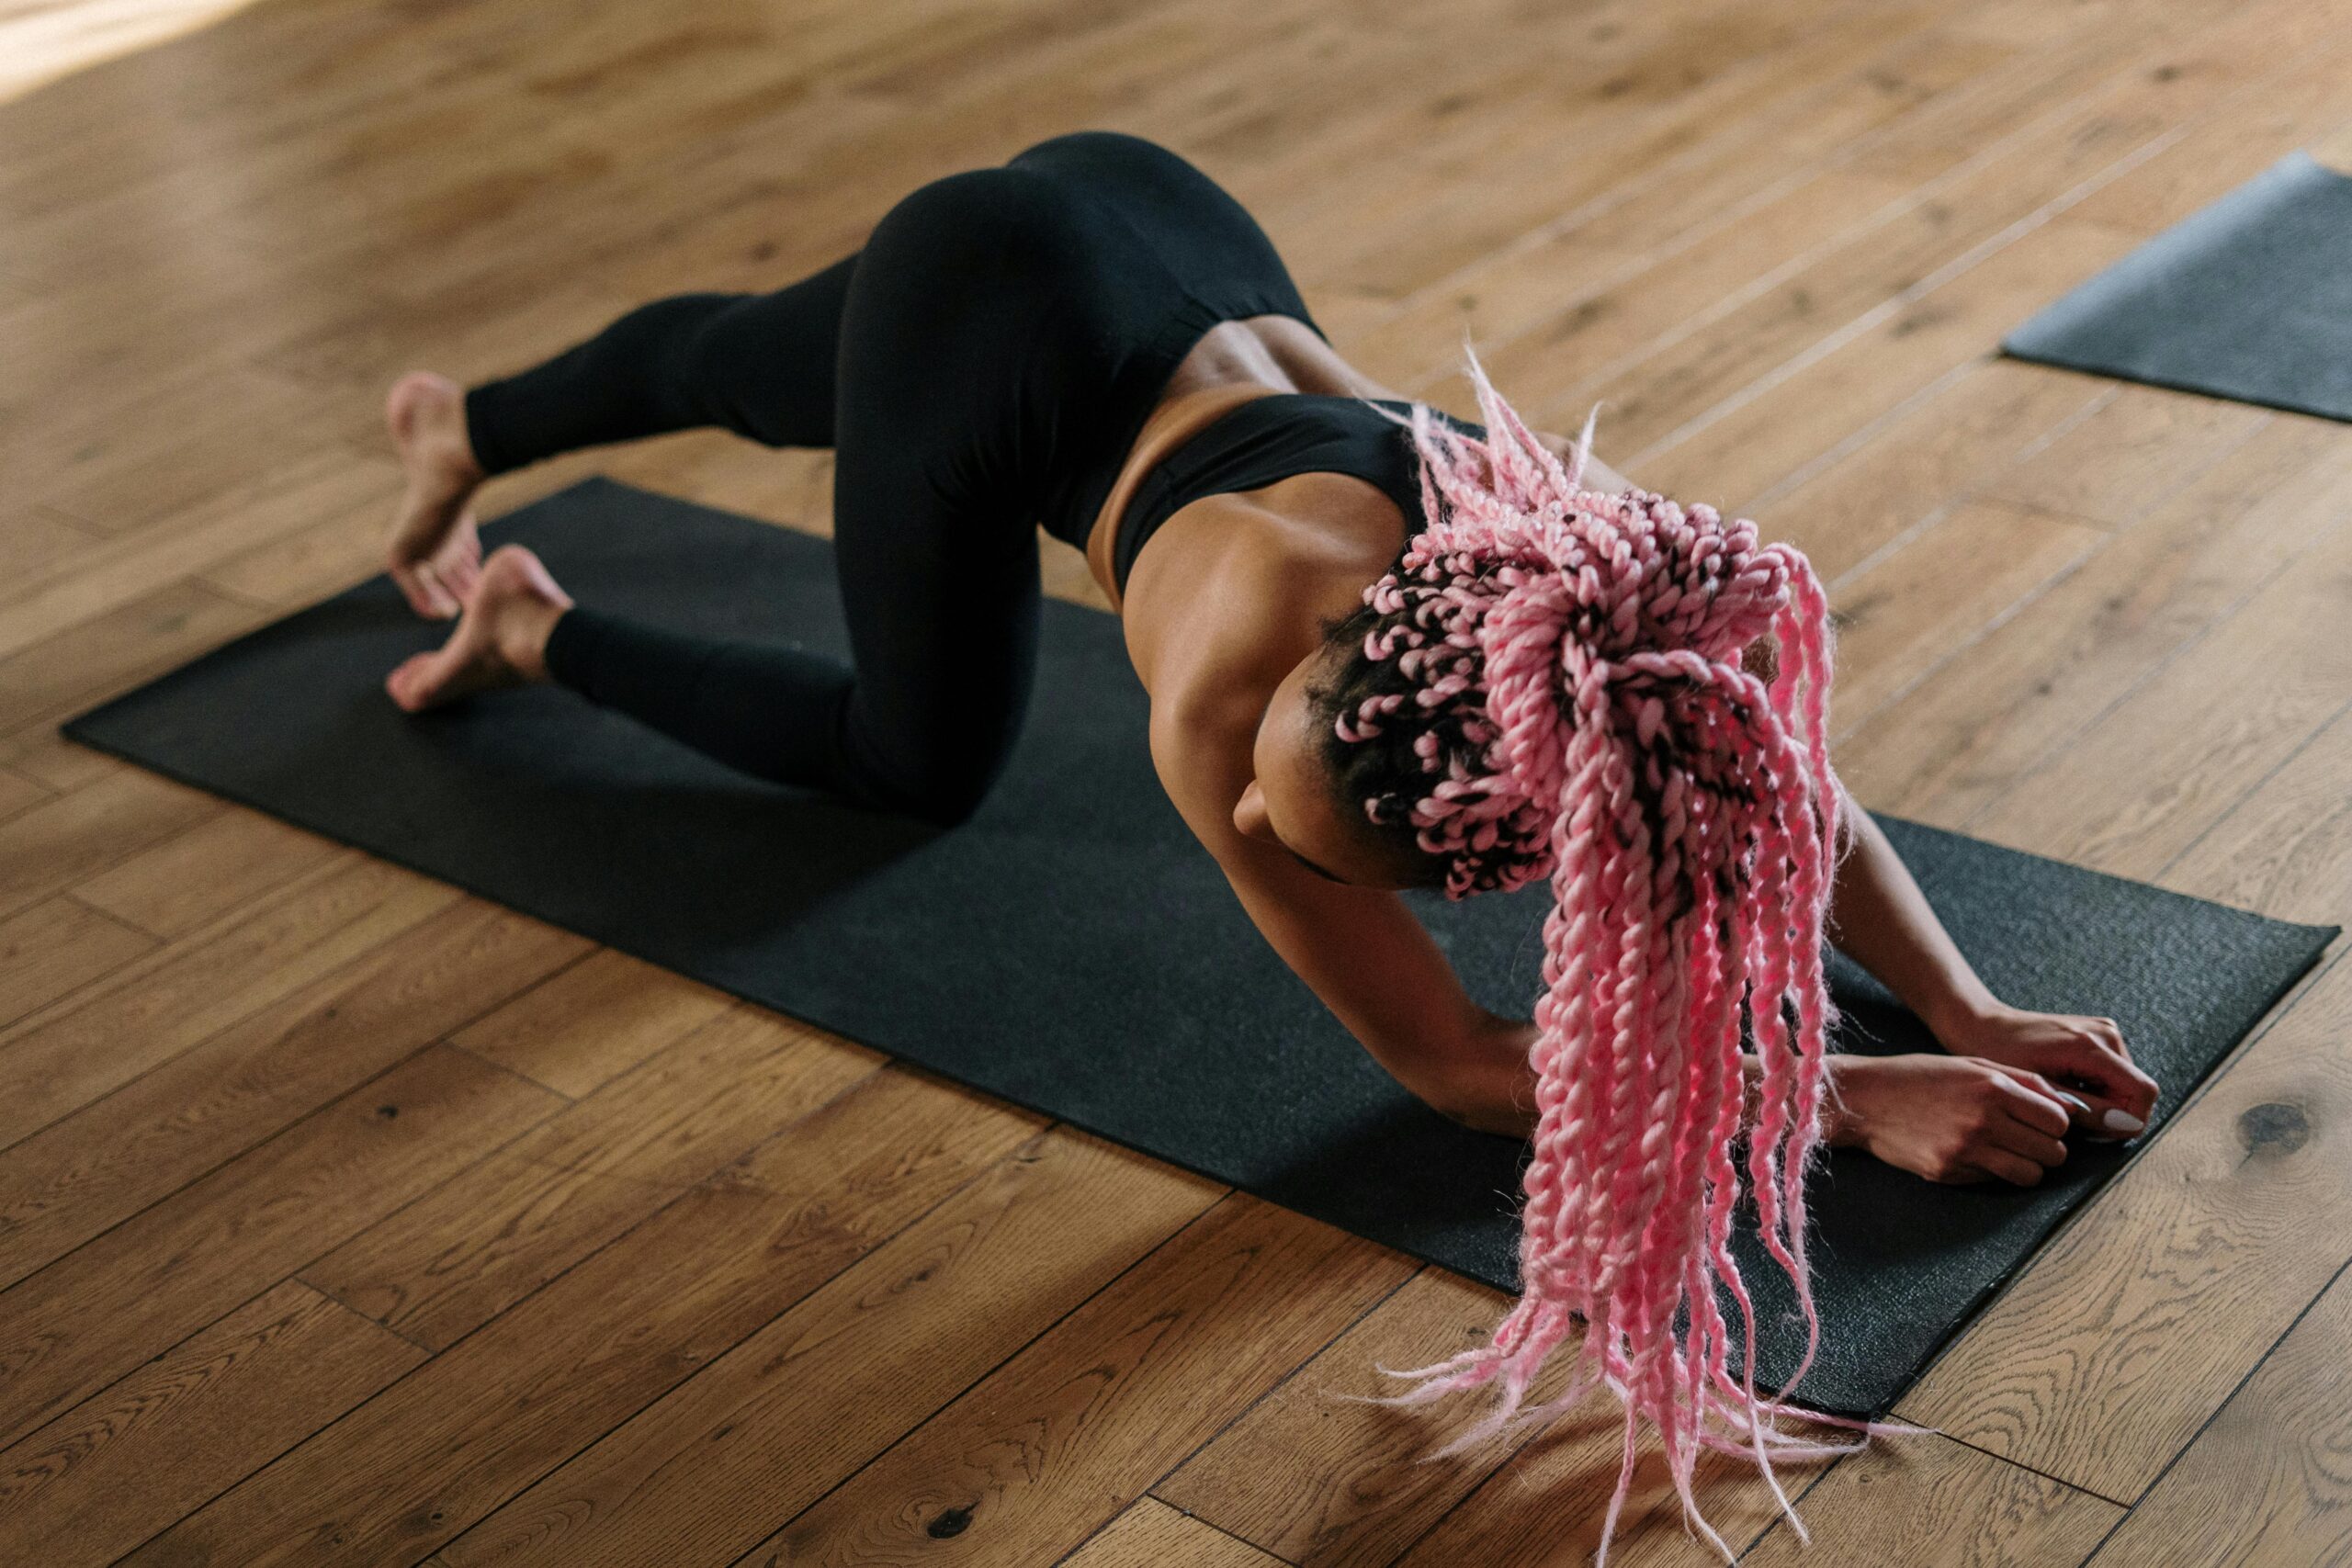
Butterfly braids are a type of braid that incorporate loops or twists along the length of the braid, creating a 3D, butterfly-wing effect. The style is distinguished by its voluminous, airy appearance, and the way it frames the face. The key feature of butterfly braids is the delicate, puffed-up sections that mimic the wings of a butterfly. This braid style often combines elements of the Dutch braid and pull-through braid, but with extra volume and texture, making it appear larger and more intricate than traditional braids.
Butterfly braids are perfect for adding a bohemian, carefree vibe to any look. Whether you’re heading to a festival, a special occasion, or just want to stand out with something unique, these braids offer an elegant yet playful twist on the classic braided styles.
How to Do Butterfly Braids
If you’re intrigued by the look and want to give butterfly braids a try, then here’s a step-by-step guide to help you achieve this style.
Materials Needed
- A comb: For sectioning your hair and ensuring smooth strands.
- Hair ties: To secure your braids.
- Bobby pins: For securing loose strands and adding volume to the braid.
- Texturizing spray: This will help add grip and volume to your hair, making it easier to manipulate the strands.
- Hairspray: To set the look and ensure longevity.
Butterfly Braids Tutorial
- Prepare Your Hair: Start with clean, dry hair. You can also opt for slightly curled or wavy hair for added texture. Use your comb to detangle your hair, making sure there are no knots. If you want extra volume, apply a texturizing spray or mousse to your roots and the mid-lengths of your hair. This will give the braid a fuller, more defined look.
- Create Two Sections: Section your hair into two parts: one at the front and the other at the back. The front section will be used to create the loops that give the braid its butterfly effect. Pin back the top part of your hair temporarily.
- Start a Dutch Braid: Take a small section of hair from the back and start a Dutch braid (a braid where the sections are crossed under, not over). As you braid, make sure to pull the strands tightly so that the braid stays neat. Continue braiding until you reach the nape of your neck.
- Create Loops: Once you’ve completed your Dutch braid, it’s time to create the butterfly “wings.” Start pulling small sections of the braid outwards to create loops on both sides of the braid. Use your fingers to gently puff out each section. This is where the “butterfly” effect comes from. The more loops you create, the bigger and more dramatic the braid will look. Pin the loops in place with bobby pins to ensure they stay secure throughout the day.
- Complete the Braid: Continue braiding down the length of your hair, adding more loops as you go. As you approach the end of your hair, secure the braid with a hair tie.