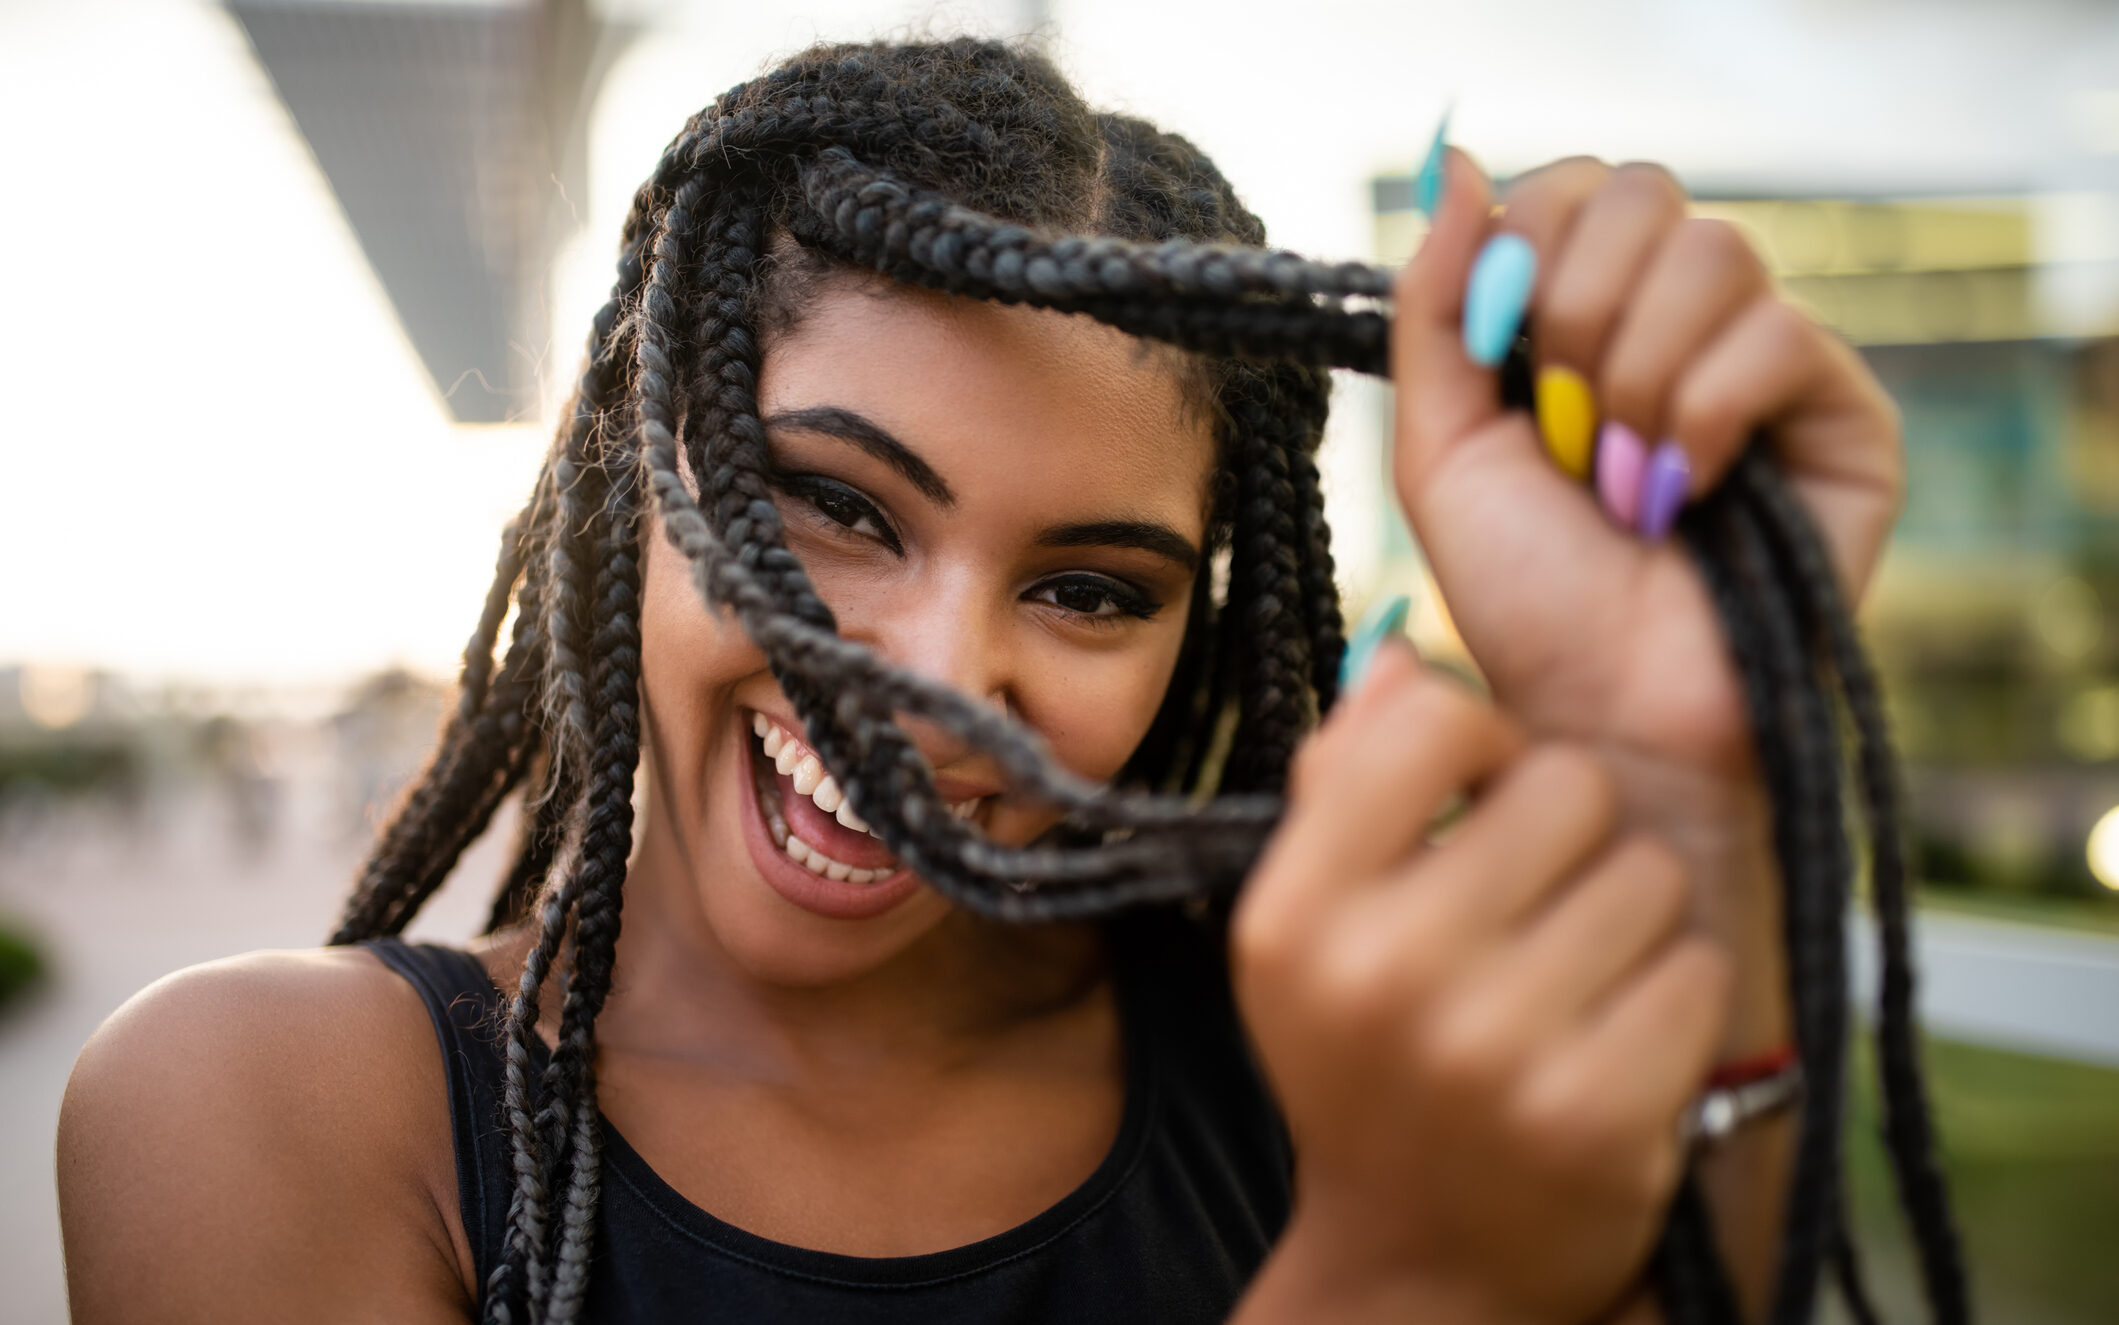
Protective hairstyles like braids are often a go-to option for Black women. They help keep natural hair thriving, limiting stressors and daily manipulation. However, it’s essential to remember that while braids can offer protection, they also come with risk. When a style is too heavy or tight, it can cause tension and stress on the scalp. That tension can, over time, lead to hair breakage, thinning and lost edges.
That’s why it’s vital to make sure that your protective styles aren’t causing unnecessary strain. Opting for gentle, low-tension braid styles is a sure fire way to maintain healthy hair. For the sensitive scalp girlies out there, here are six gentle and equally stunning braid styles for Black women that not only offer protection, but are also easy on the hair.
Gentle Braid Styles
Two-Strand Twist
The two-strand twist is a classic, low-maintenance style that works well for both short and long hair. Unlike traditional braids that require you to weave the hair tightly, the two-strand twist uses only two strands of hair twisted together, reducing excess tension.
How to Create Two-Strand Twists:
1. Start by washing and conditioning your hair thoroughly.
2. Apply a leave-in conditioner or a moisturizing cream to damp hair to ensure it’s hydrated.
3. Section your hair into small or medium-sized parts using a comb or your fingers.
4. Apply a styling gel or cream to each section for better hold.
5. Take two strands of hair from one section and twist them around each other tightly, making sure you don’t twist too tightly at the scalp.
6. Continue twisting to the end of the hair, securing it with a small rubber band or clip.
7. Repeat the process for the entire head, adjusting the twist size to your liking.
8. You can wear the twists as-is, or after a few days, untwist them for a natural curly look.
Crochet Locs
Crochet locs are a versatile and stylish option that doesn’t require the tension of traditional locs. They involve weaving faux locs into your natural hair using a crochet hook, creating a look of full, loc’d hair with minimal stress on your scalp.
How to Create Crochet Locs:
1. Start with clean, dry, and detangled hair. You can use a leave-in conditioner or a light styling cream for moisture.
2. Section your hair into small parts and secure them with hair ties.
3. Using a crochet hook, thread the faux loc through a braid or twist of your own natural hair.
4. Pull the natural hair through the faux loc, creating a secure attachment.
5. Repeat for each section, working your way around your head.
6. Once all sections are completed, gently separate and fluff the crochet locs to your desired fullness.
7. Crochet locs are a fantastic option for long-term protective styles because they are lightweight and offer a natural-looking finish without putting excessive tension on the scalp.
Jumbo Cornrows
Jumbo cornrows are a bold yet gentle style that adds a touch of drama while still being protective. While cornrows are traditionally braided tightly to the scalp, opting for jumbo cornrows allows for a more relaxed, low-tension approach. This means you get the sleek, elegant look of cornrows without straining your scalp.
How to Create Jumbo Cornrows:
1. Start by washing and conditioning your hair to ensure it’s clean and moisturized.
2. Apply a light leave-in conditioner or cream to detangle your hair.
3. Section your hair into large, even parts.
4. Begin at the front of your head and create your first large cornrow by braiding the hair tightly at the scalp, but not too tightly.
5. Continue braiding downwards, incorporating more hair as you go.
6. Repeat the process for each section, making sure not to pull too tightly at the roots.
7. You can finish the look by tucking the ends of the braids under or adding beads or decorative accessories for extra flair.
Halo Braid
The halo braid is a regal, crown-like braid that encircles the head. It’s a great protective style because it doesn’t put too much tension on the scalp, as the braid is usually placed loosely. It’s a perfect balance of style and comfort.
How to Create a Halo Braid:
1. Begin with freshly washed and slightly dampened hair.
2. Apply a leave-in conditioner and detangle your hair to prevent breakage.
3. Create a deep side part in your hair.
4. Begin braiding from the nape of your neck and work your way upwards to the front of your head, forming a loose French braid or Dutch braid that wraps around your head.
5. Secure the braid at the crown of your head, using bobby pins to keep it in place.
6. Gently pull at the braid to loosen it and create the halo effect.
7. Allow any stray hairs to fall naturally for a more relaxed, bohemian look.
Braided Ponytail
The braided ponytail is an easy, versatile style that offers protection and a polished finish. It’s an excellent way to keep your hair out of your face while reducing tension on your roots. You can customize the braid size, adding volume or sleekness depending on your preference.
How to Create a Braided Ponytail:
1. Start by washing and detangling your hair.
2. Apply a leave-in conditioner and part your hair into three sections: one for the front and two for the back.
3. Gather the back section of hair into a ponytail at the nape of your neck and secure with an elastic band.
4. Braid the ponytail into a traditional three-strand braid, making sure not to pull tightly.
5. For a more intricate look, you can French braid the ponytail section or add more braids.
6. Once done, tuck the ends under and secure them with a bobby pin, or leave the ends hanging for a more relaxed appearance.
7. You can also add accessories like ribbons or beads for a fun twist!
Boxer Braids
Boxer braids are trendy and chic, consisting of two Dutch braids that are tightly woven from the scalp down. This style is perfect for the gym girlies, as it keeps hair out of the face while still providing protection. While it is a bit tighter than other styles, you can opt for a looser, less-tensioned version for comfort.
How to Create Boxer Braids:
1. Start with clean, damp hair.
2. Apply a styling gel or mousse to provide hold and prevent frizz.
3. Create a center part and divide your hair into two even sections.
4. Begin braiding each side by creating a Dutch braid (cross the outer strands under the middle) starting from the front of your hairline.
5. Work your way down, making sure the braid is snug but not too tight.
6. Secure the ends with elastic bands.
7. Finish by pulling gently on the braids to loosen them up slightly, creating a fuller, more relaxed look.