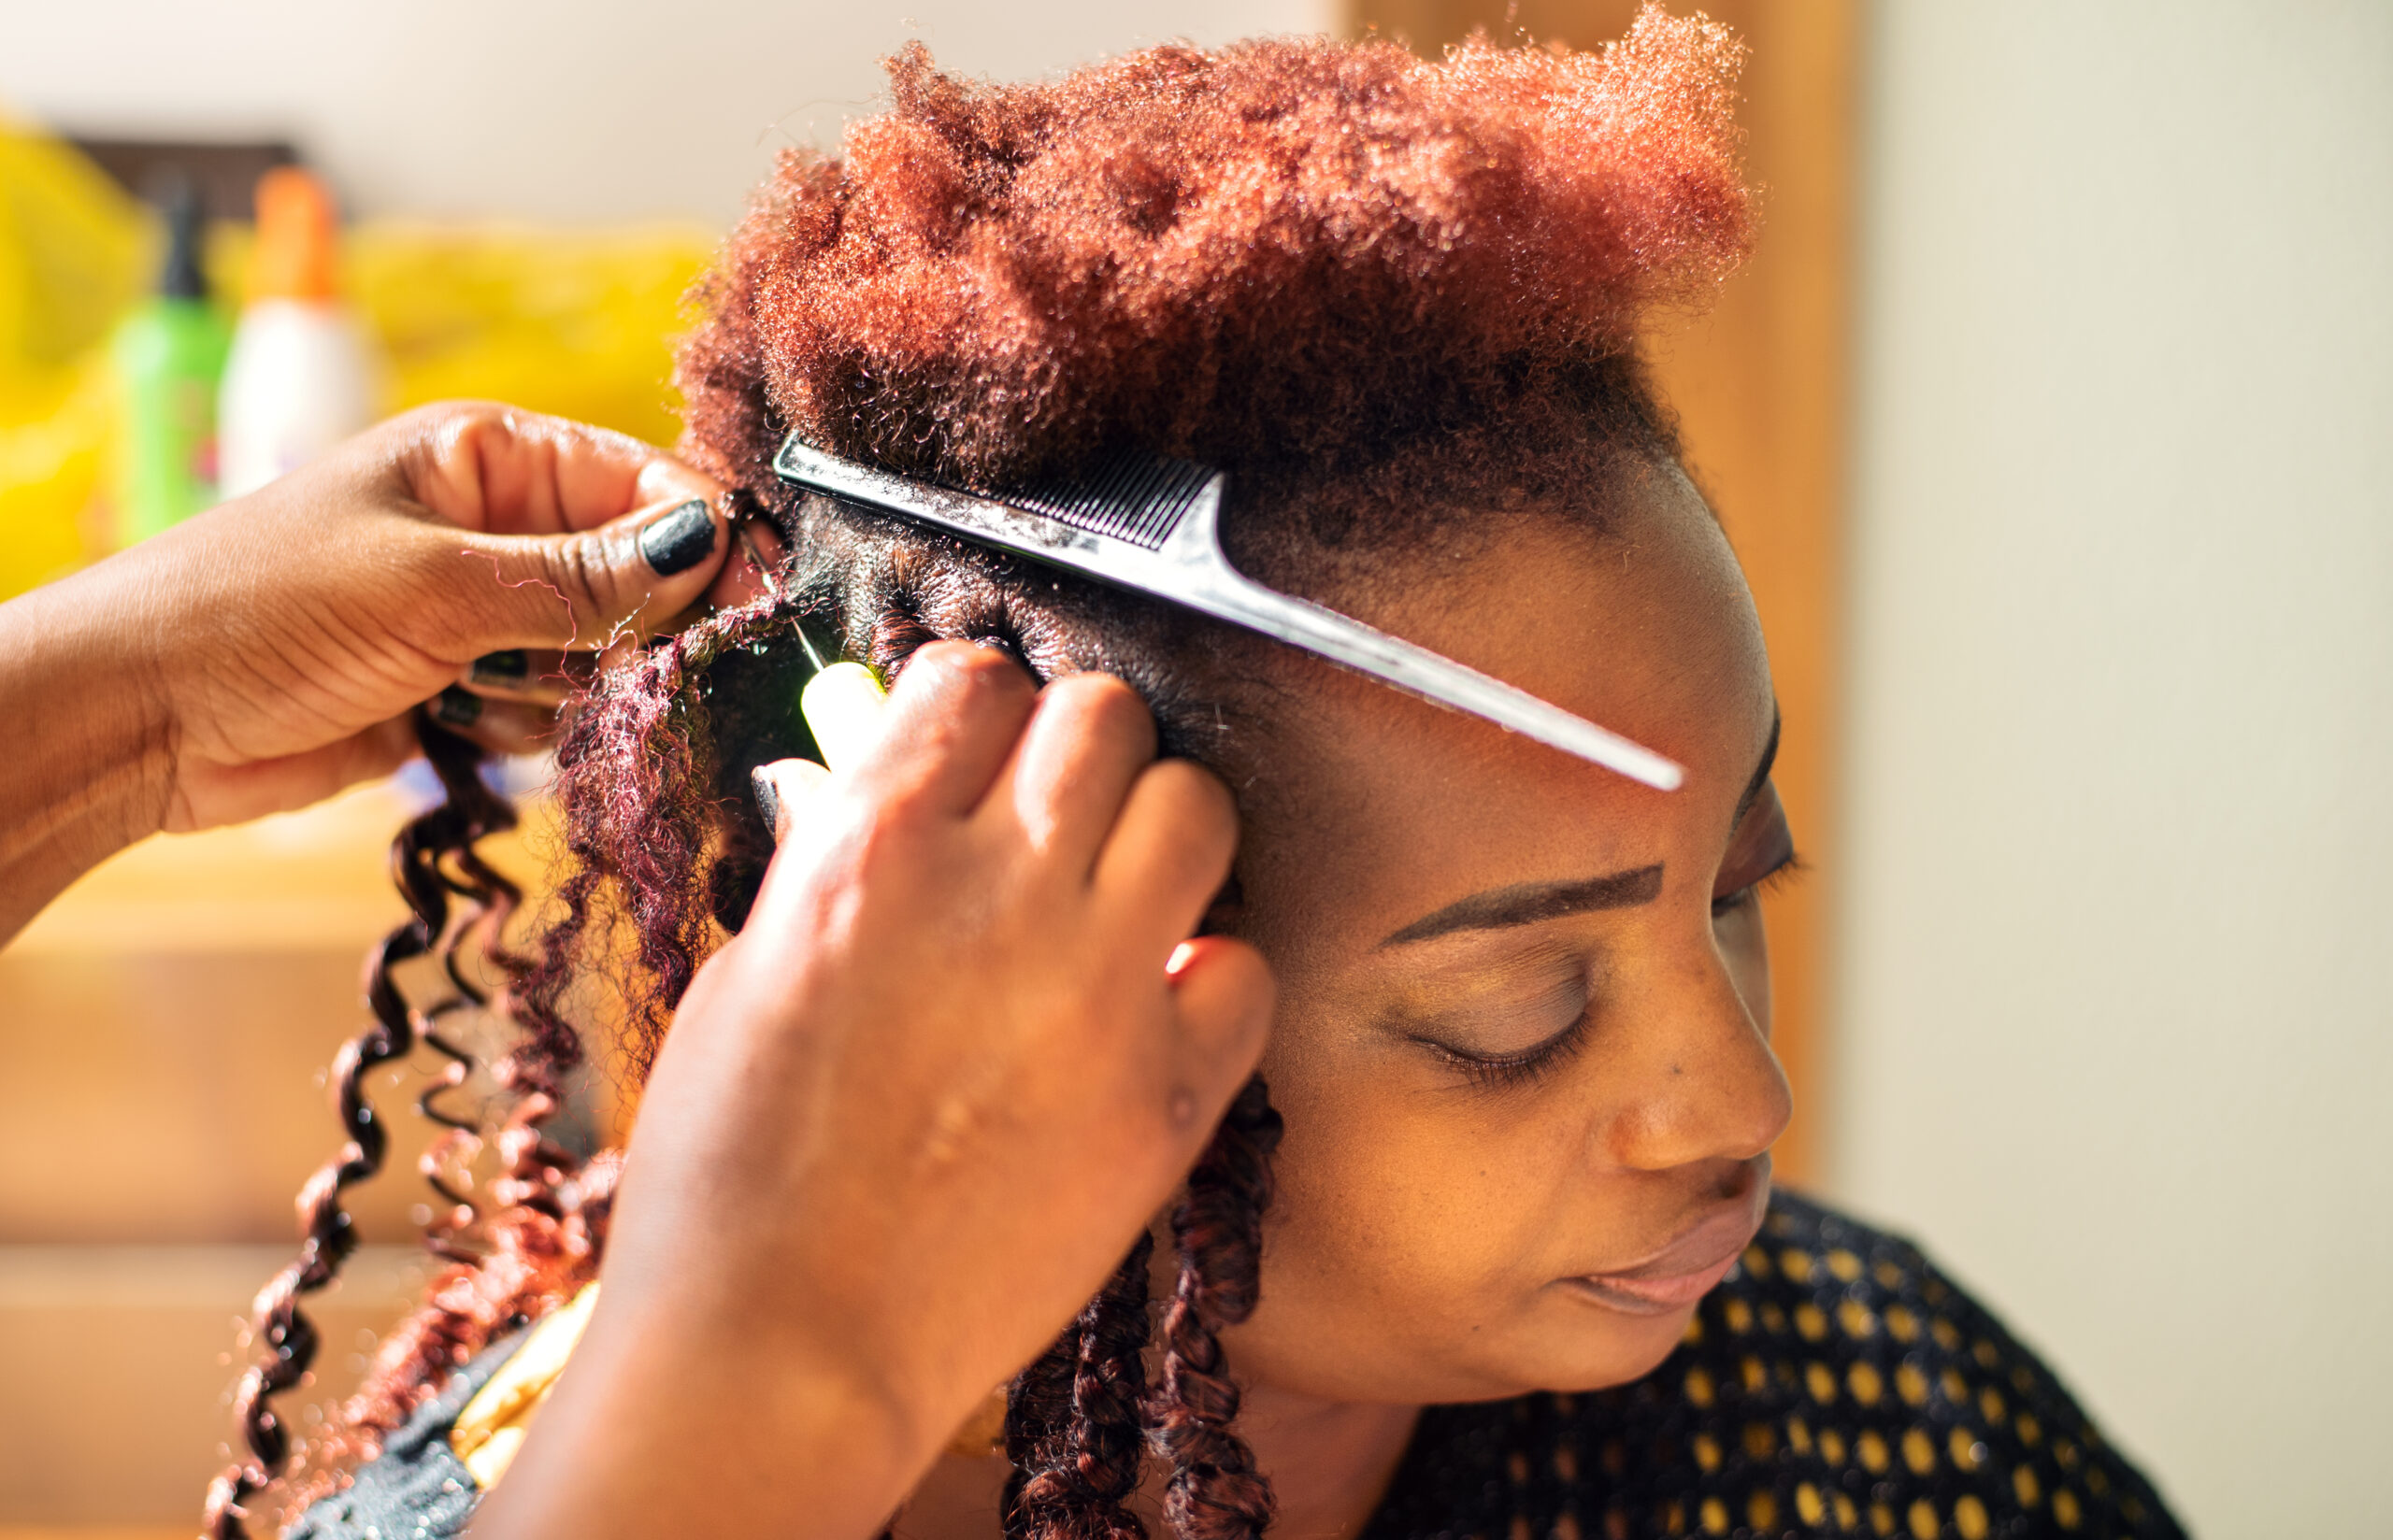
Braids are a protective style that have culturally lasted the test of time. They not only allow Black women to connect more deeply with their heritage, but they’re also a fun and dynamic way to express yourself. Braids can be done a myriad of ways, with some styles trending more than others.
Goddess braids, a protective style of braiding that incorporates curls and femininity, is one of those trendy styles. Here’s everything you need to know about goddess braids and how you can execute them yourself.
What Are Goddess Braids?
Goddess braids are a trendy box braid style that incorporates curly hair extensions or natural curls. These curls can be integrated into the braids, typically starting at the mid-lengths or hanging from the ends. This helps create a soft, romantic look. Goddess braids combine the structured appearance of box braids with the softness and movement of curls, making it a popular choice for the girls who want to add something fun and dynamic to their braid roster.
Goddess Braids vs Boho Braids
Though this style is often confused with boho braids, boho braids (short for bohemian braids) tend to have a more relaxed, carefree look. They often incorporate a mix of various braid styles, loose strands and softer textures. Goddess braids give a more polished and defined look while still incorporating soft curls. On the other hand, boho braids typically embrace a messy, effortless vibe. Think regal versus whimsical.
How To Do Goddess Braids
What You’ll Need:
- Extra Hair: Choose the color and texture that suits you (Kanekalon or Marley hair works well).
- Wide-toothed comb
- Hair ties or rubber bands
- Edge control or styling gel
- Hair moisturizer or leave-in conditioner
- Curling hair or pre-curled hair (for the goddess effect
- Scissors
- Optional: Beads or hair accessories
Goddess Braids Tutorial
Step 1: Prepare Your Hair
Start with clean, dry hair. If your hair is textured, you can stretch it slightly using a blow dryer or flat iron for easier braiding. Apply a leave-in conditioner or hair moisturizer to ensure your hair is hydrated and manageable.
Step 2: Section Your Hair
Use a wide-toothed comb to part your hair into sections. Goddess braids are typically larger than traditional box braids, so create bigger sections for a more dramatic look. You can part your hair in straight lines, zigzags, or whatever pattern you prefer.
Step 3: Apply Edge Control
For a sleek finish, apply edge control or styling gel around your hairline. This helps to smooth down flyaways and gives your braids a polished look.
Step 4: Prepare the Hair Extensions
Take the hair extensions and separate them into pieces. You’ll want pieces that are approximately the same width as the sections you created in your natural hair. If using curly hair for the goddess effect, keep those separate as well.
Step 5: Begin Braiding
Take one section of your natural hair and divide it into three equal strands. Add a piece of the hair extension to the middle strand. Start braiding by crossing the right strand over the middle, then the left strand over the new middle. As you braid down, continue to incorporate the hair extension. Keep the braid tight but not too tight to avoid pulling on your scalp. If you want to add curly strands, you can either wrap them around the braid as you work or leave them loose to hang at the end.
Step 6: Secure the Braid
Once you reach the desired length, secure the braid with a hair tie or rubber band. If you’re using curly hair at the ends, you can leave the ends loose for a softer look.
Step 7: Optional Styling
You can add beads or other accessories to your braids for a decorative touch. Simply thread the beads onto the braid before securing the end.
