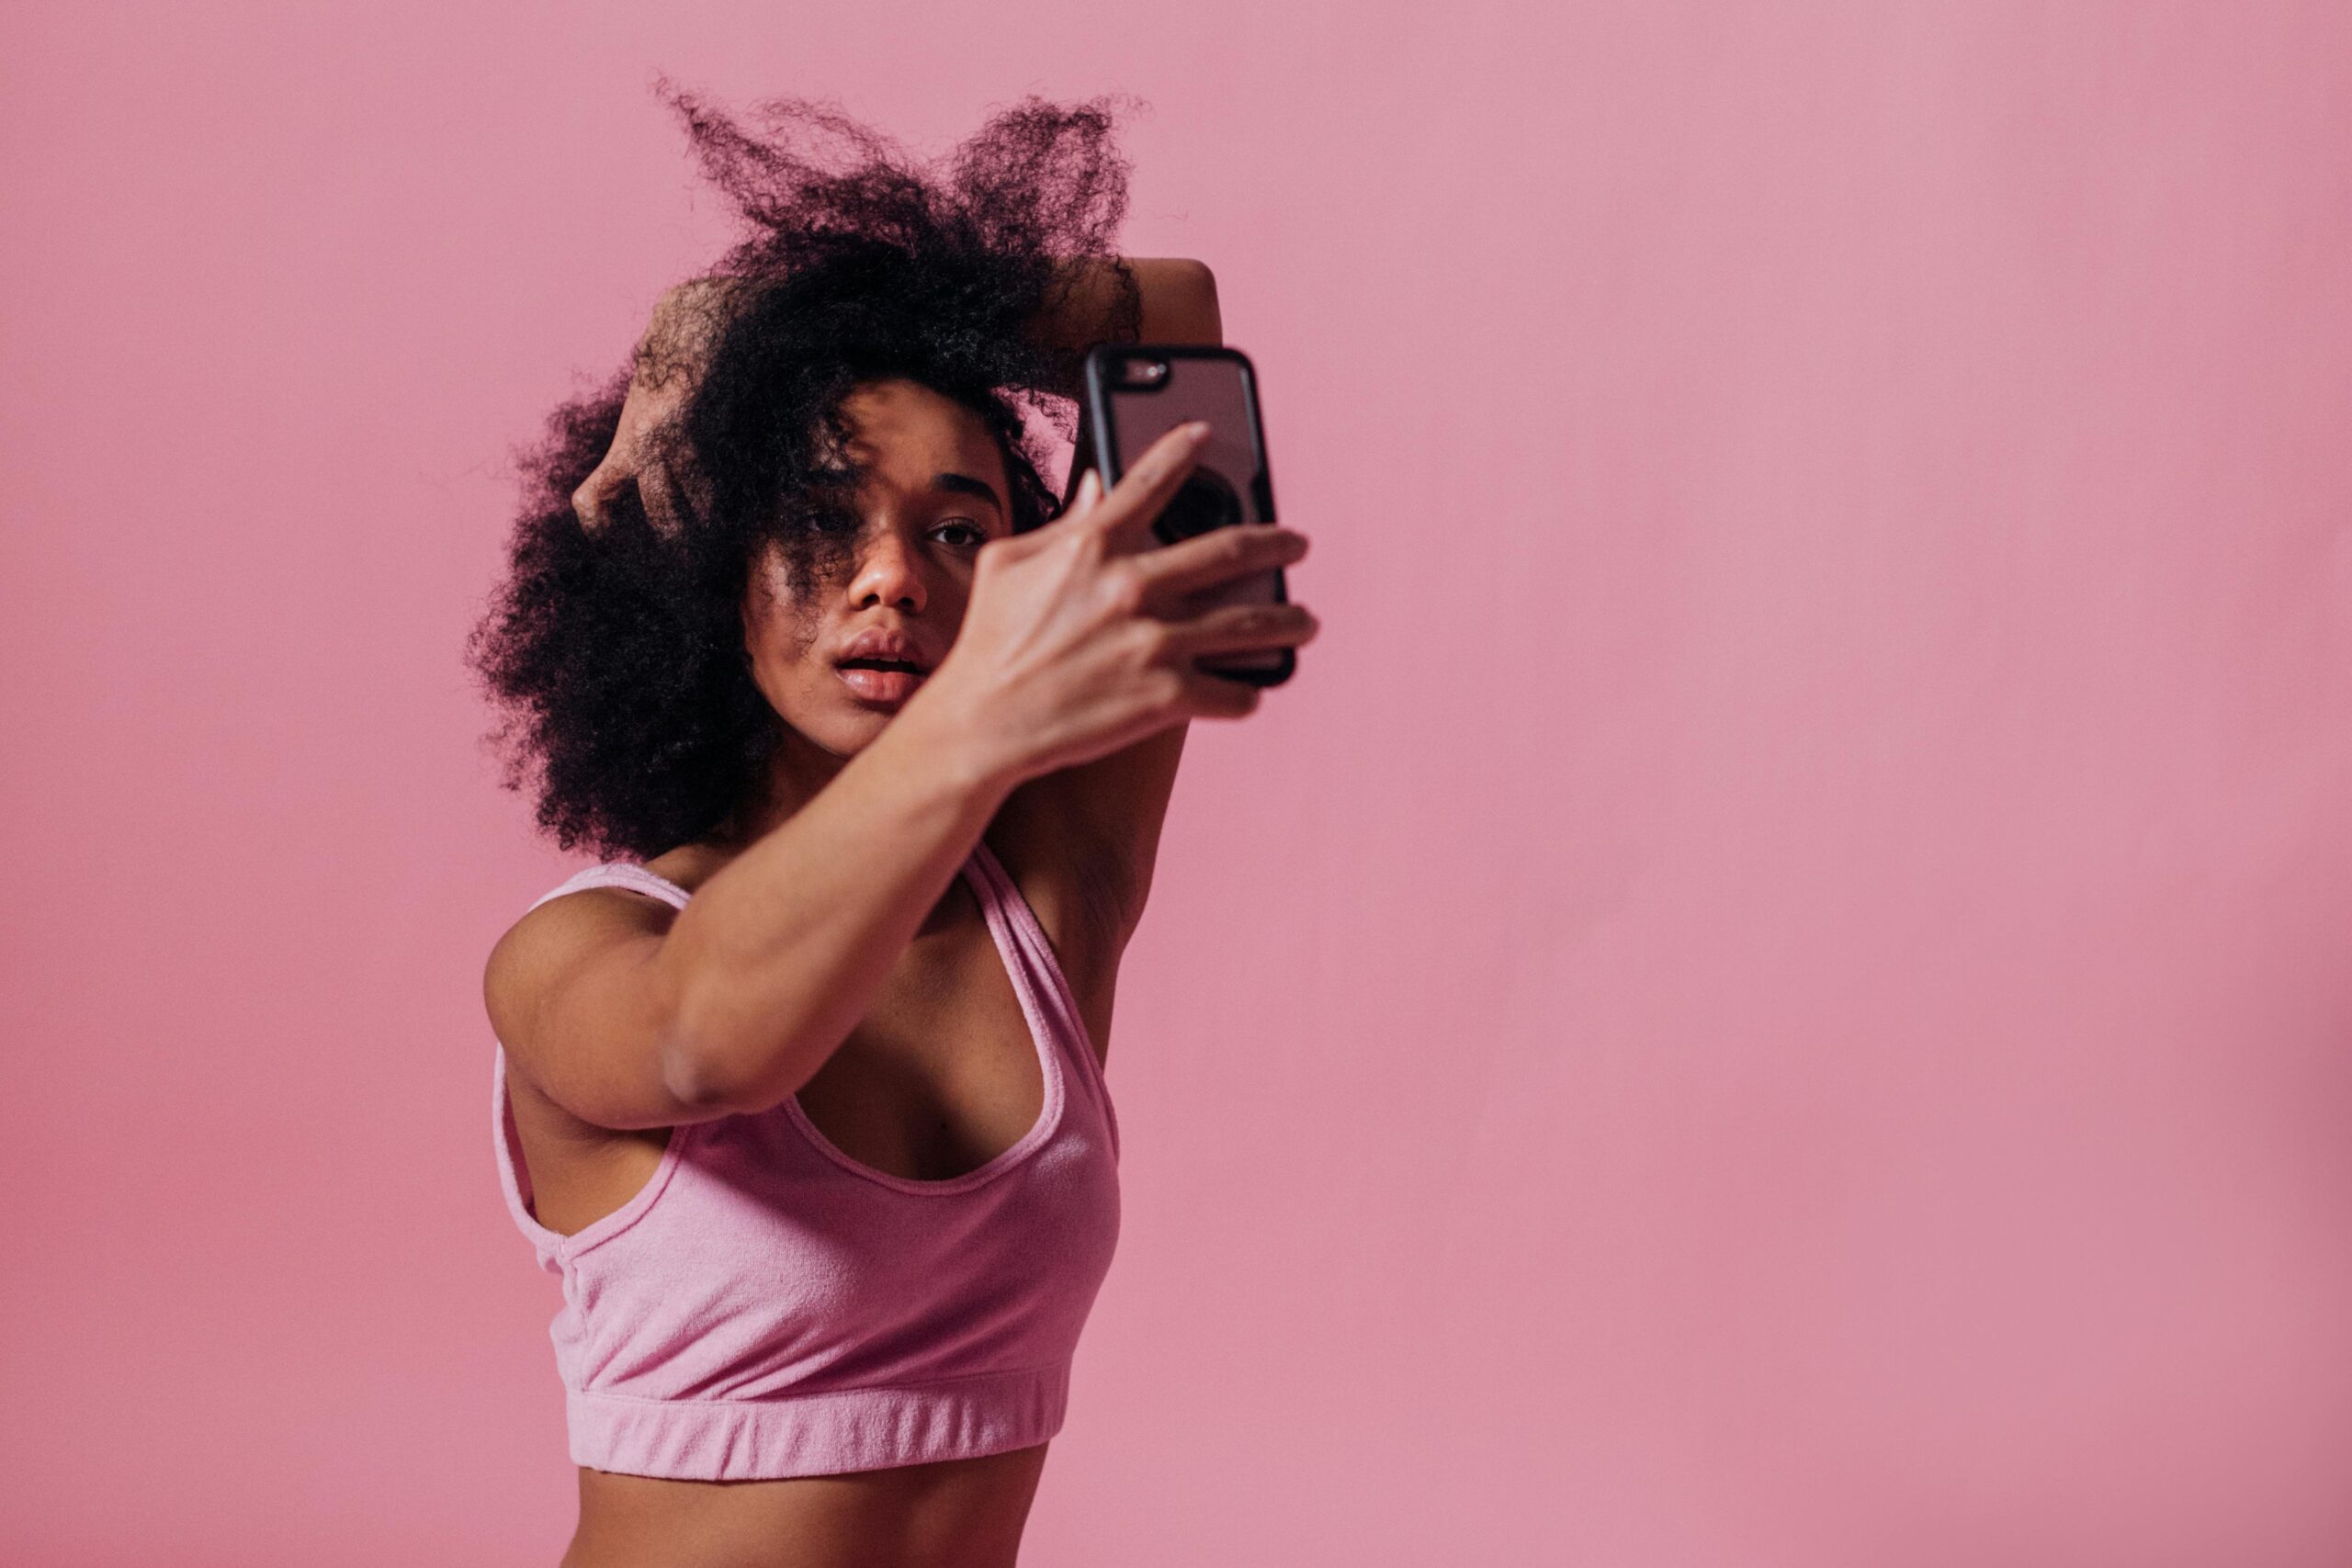
Imagine spending hours perfecting your makeup for a night out with flawless winged eyeliner, a bold lip and foundation blended to perfection. Then, after a night of laughs and dancing, you decide it’s finally time for the group photo with your friends. But when you check the picture, you see the dreaded flashback. Everyone else looks radiant, but you’re staring back at a pale, cakey, ghostly version of yourself.
If that has happened to you, then you’re not alone and the solution is actually simpler than you think. The flashback test is your ultimate weapon against makeup mishaps in photos. Here’s how to pass it, so your makeup looks as flawless on camera as it does in real life.
What’s The Flashback Test?
The flashback test is a quick check to make sure your makeup doesn’t betray you in photos. It’s a simple process. After you’ve finished your makeup, grab your phone, turn on the back camera, and snap a picture with the flash on. This reveals how your makeup will look under direct light, so you can fix any issues before heading out. If you see any ghostly white patches, it’s usually due to certain products reflecting the camera’s flash.
Here are some makeup techniques that’ll help you pass the flashback test every time.
Go One Shade Darker with Your Foundation
Flashback happens when your foundation is too light or contains SPF that reflects light. Start by choosing a foundation that’s just a touch darker than your natural skin tone. It won’t look mismatched once blended. The extra depth in tone evens out under bright lighting and helps avoid that washed-out look.
Brighten Under-Eyes with Care
A bright under-eye can be stunning, but it can also be the main culprit for flashback when done without balance. Start by applying your regular brightening concealer, but then go in with a pressed powder that’s closer to your natural skin tone. This helps tone down the brightness, making your makeup look smoother and less stark under flash.
Use Setting Powder Sparingly
Loose setting powders are often the biggest offenders when it comes to flashback. Many have ingredients that reflect light, like silica, which is why even a light dusting can turn into a major flashback nightmare. Use just enough to set your makeup, and apply it only to areas prone to shine. Pressed powders, rather than loose ones, tend to be better at giving a seamless, flash-friendly finish.
Blend, Blend, Blend
Flash will expose any unblended edges or overly layered products, especially around the nose, jawline and eyes. Take a little extra time to make sure everything is seamless and that you’ve blended out any harsh lines or excess powder. This step is key to achieving that “second skin” finish that always looks good in photos.
Test Under Different Lighting
Natural lighting can sometimes fool you into thinking your makeup is more flawless than it actually is under artificial lights. Try your flashback test in different lighting setups, like dim lighting, direct overhead lighting or even front-camera mode. Once you’re satisfied with how everything looks, then you’re good to go.
The Final Flashback Test
When your makeup is done, the last step is to grab your phone and snap a picture with the back camera and the flash on. Switch off any room lights to mimic a dim setting and test your look, as it would appear in typical nightlife lighting. If everything looks smooth, then you’re all set.
