If you’ve been hearing the buzz about makeup layering and wondering what it actually means, you’re not alone. Makeup layering is all about the order in which you apply your makeup products to achieve your desired look. Whether you’re aiming for a natural glow or full glam, the order of application can make a significant difference in how your makeup wears throughout the day.
Makeup Layering Step-by-Step
Step 1: Start with Skincare and SPF
Before you even reach for your makeup bag, it’s crucial to prep your skin with a solid skincare routine. Cleanse, tone, and moisturize your face, then apply a broad-spectrum SPF to protect your skin from harmful UV rays. Think of this as creating the perfect canvas for your makeup. Healthy, well-prepped skin allows your makeup to glide on smoothly and last longer.
Step 2: Prime for Perfection
Once your skincare has absorbed, it’s time to apply a primer. Primers are essential for smoothing your skin’s texture and ensuring your makeup stays put. Choose a primer based on your skin’s needs, whether you’re looking to minimize pores, control oil, or add a subtle glow. Apply a small amount and blend it evenly across your face, focusing on areas where your makeup tends to fade first, like the T-zone.
Step 3: Color Correct (If Necessary)
If you have areas of discoloration or blemishes, now is the time to use a color-correcting concealer. Depending on your skin concerns, you might use green to neutralize redness, peach to brighten dark circles, or lavender to balance sallowness. Apply the corrector sparingly and blend it out to create an even base for your foundation.
Step 4: Foundation First
Your foundation acts as the base of your makeup look, evening out your complexion and creating a uniform surface. The key to a flawless foundation application is choosing the right formula for your skin type. If you have dry skin, opt for a hydrating liquid foundation. For oily skin, a matte foundation or a powder formula may work best. Use a makeup sponge or brush to blend the foundation evenly over your face, starting from the center and working your way outward.
Step 5: Concealer for Precision
After foundation, it’s time to conceal any remaining imperfections or to add brightness to specific areas. Apply concealer under your eyes, around your nose, or on any blemishes. You can also use a lighter shade of concealer to highlight the high points of your face, like your cheekbones, the bridge of your nose, and your forehead. Blend well to avoid any harsh lines.
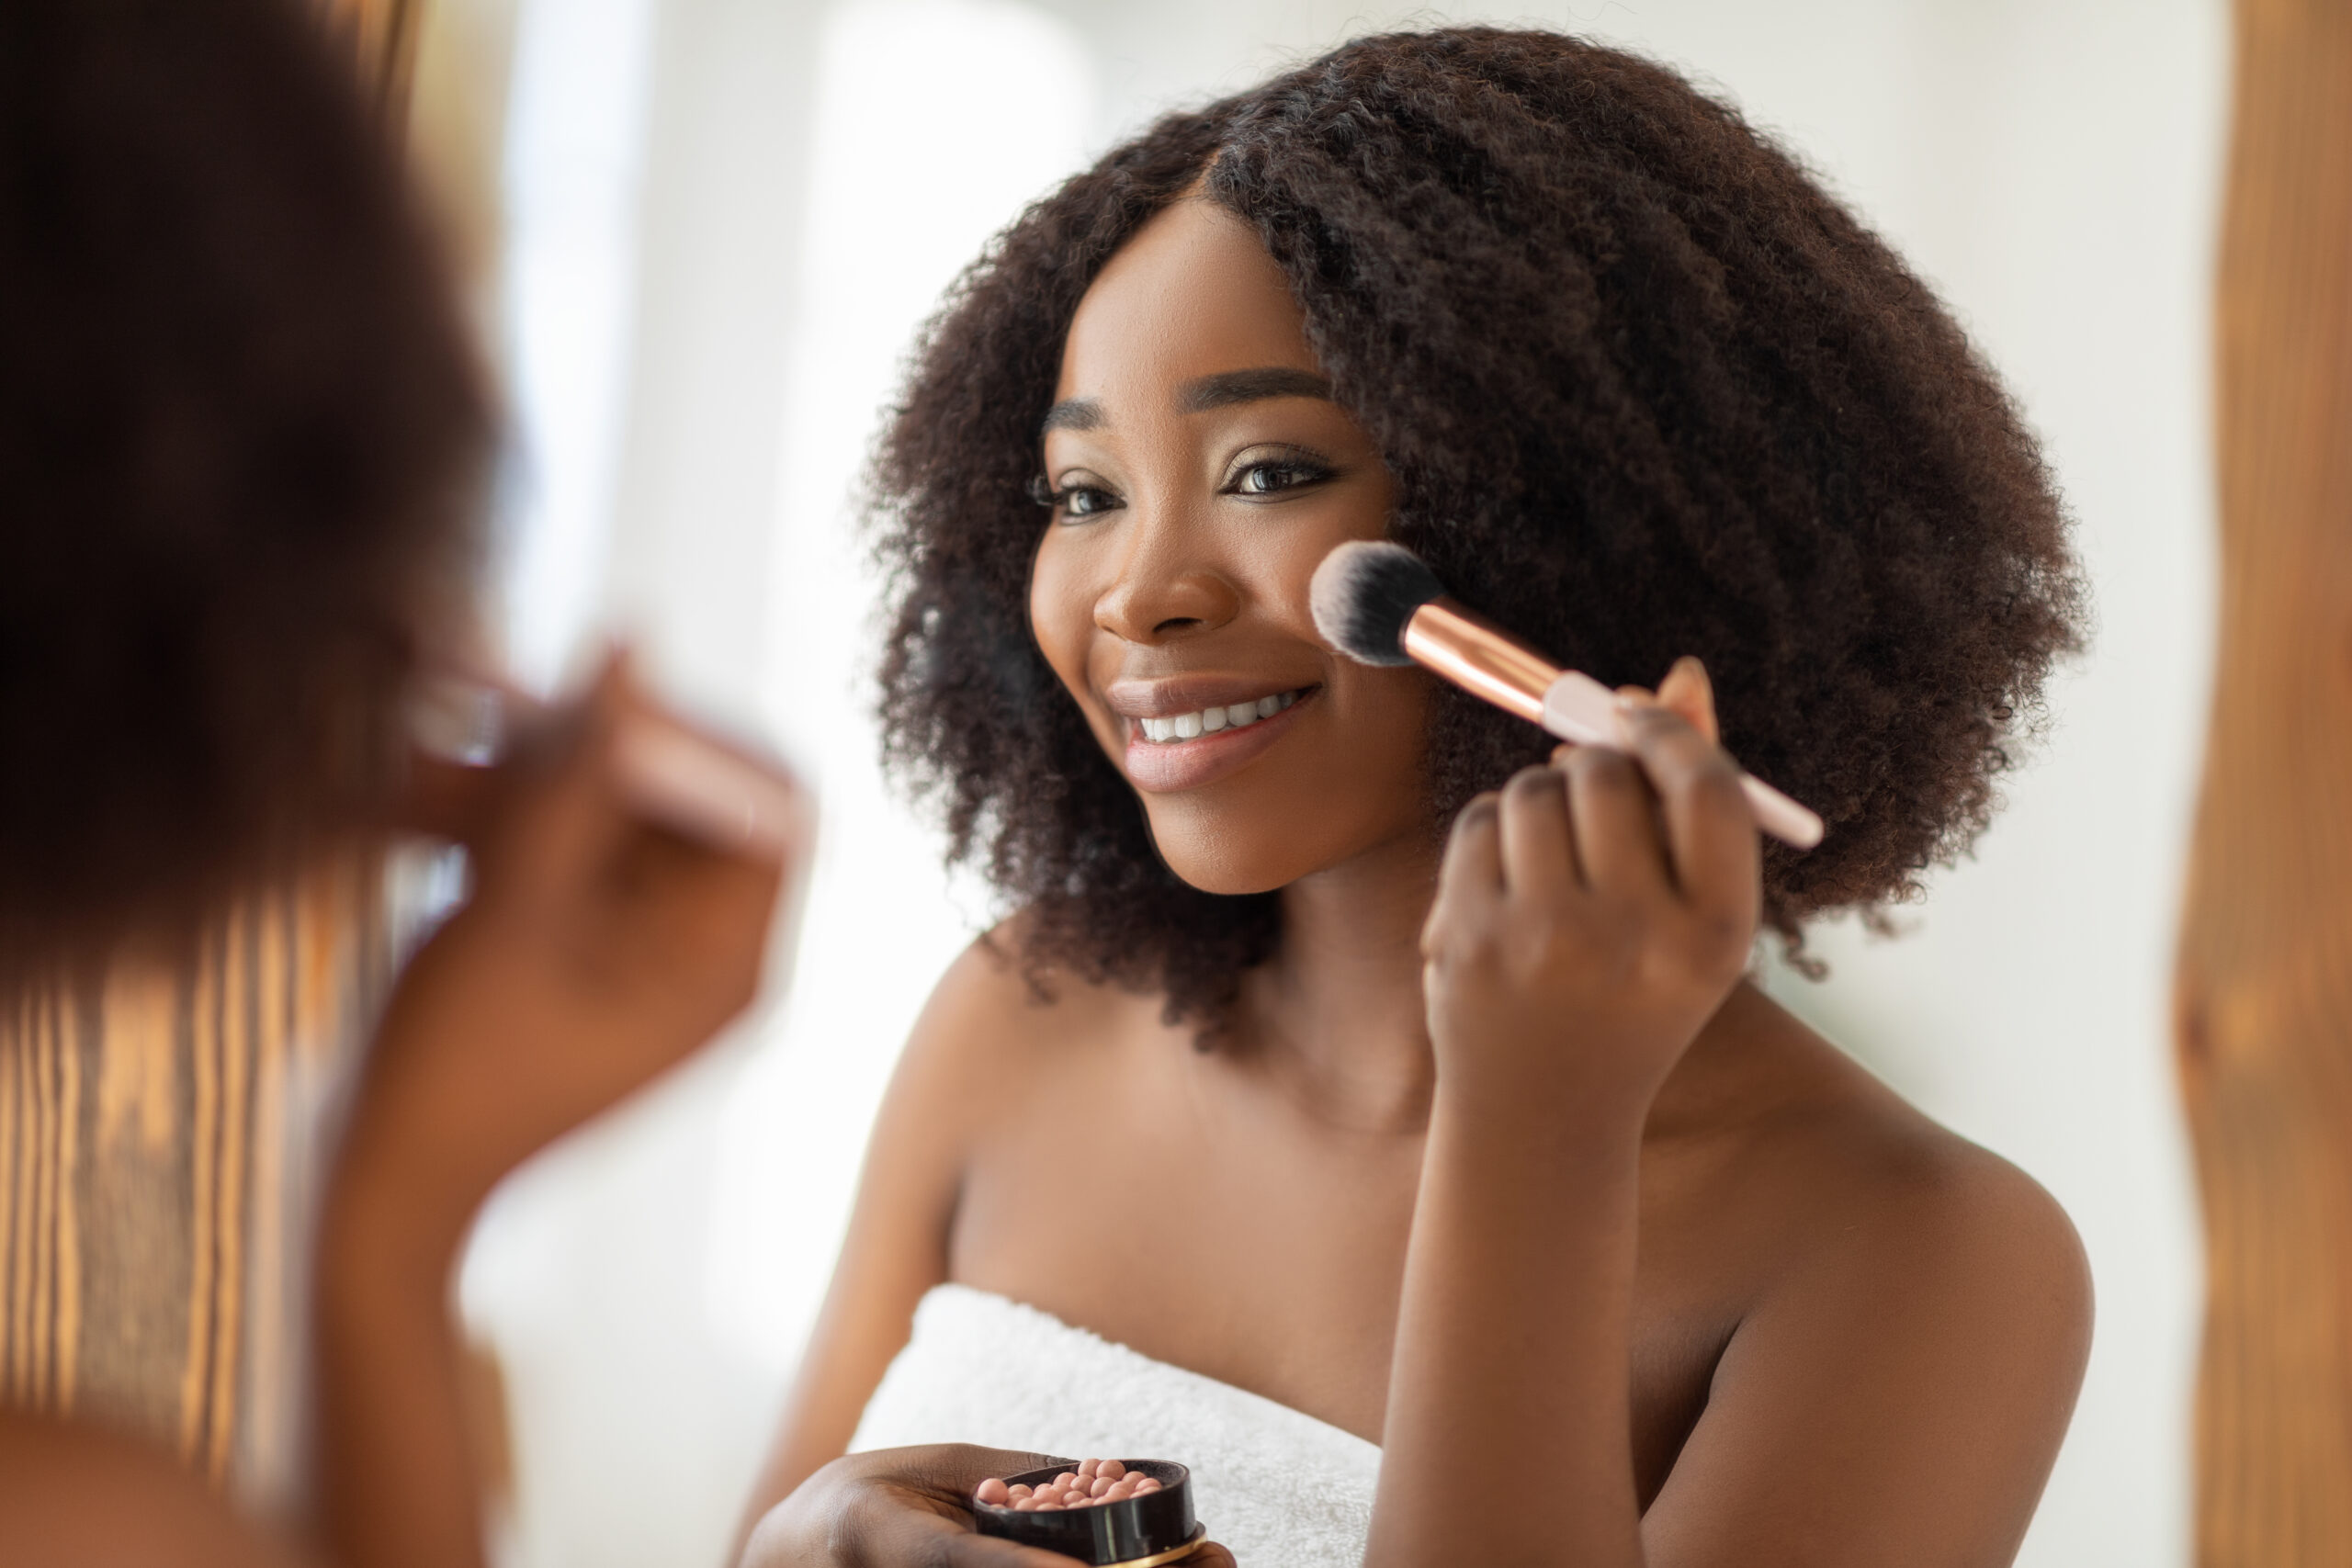
Step 6: Add Dimension with Bronzer, Blush, and Highlighter
Now that your base is set, it’s time to bring back some dimension to your face. Start with bronzer to warm up your complexion and add depth. Apply it to the hollows of your cheeks, along your jawline, and around your hairline. Next, sweep blush onto the apples of your cheeks for a healthy flush of color. Finish with a highlighter on the high points of your face, like your cheekbones and the tip of your nose, to give your skin a radiant glow.
Step 7: Perfect Your Brows
Your brows frame your face, so take the time to define them. Use a brow pencil or powder to fill in any sparse areas, following the natural shape of your brows. For a more polished look, brush your brows upwards with a clear or tinted brow gel to hold them in place.
Step 8: Eye Makeup—Shadow, Liner, and Mascara
Eye makeup can vary greatly depending on the look you’re going for, but a good rule of thumb is to start with eyeshadow, followed by eyeliner, and then mascara. Apply your eyeshadow first, building up the color gradually. Next, define your eyes with eyeliner. Whether you prefer a subtle line or a dramatic wing is up to you. Finally, apply a few coats of mascara to lengthen and volumize your lashes.
Step 9: Finish with Lips
Last but not least, complete your look with lipstick or gloss. Start by lining your lips to define their shape, then fill them in with your chosen color. Whether you opt for a bold matte lipstick or a glossy finish, your lips should complement the rest of your makeup and tie the whole look together.