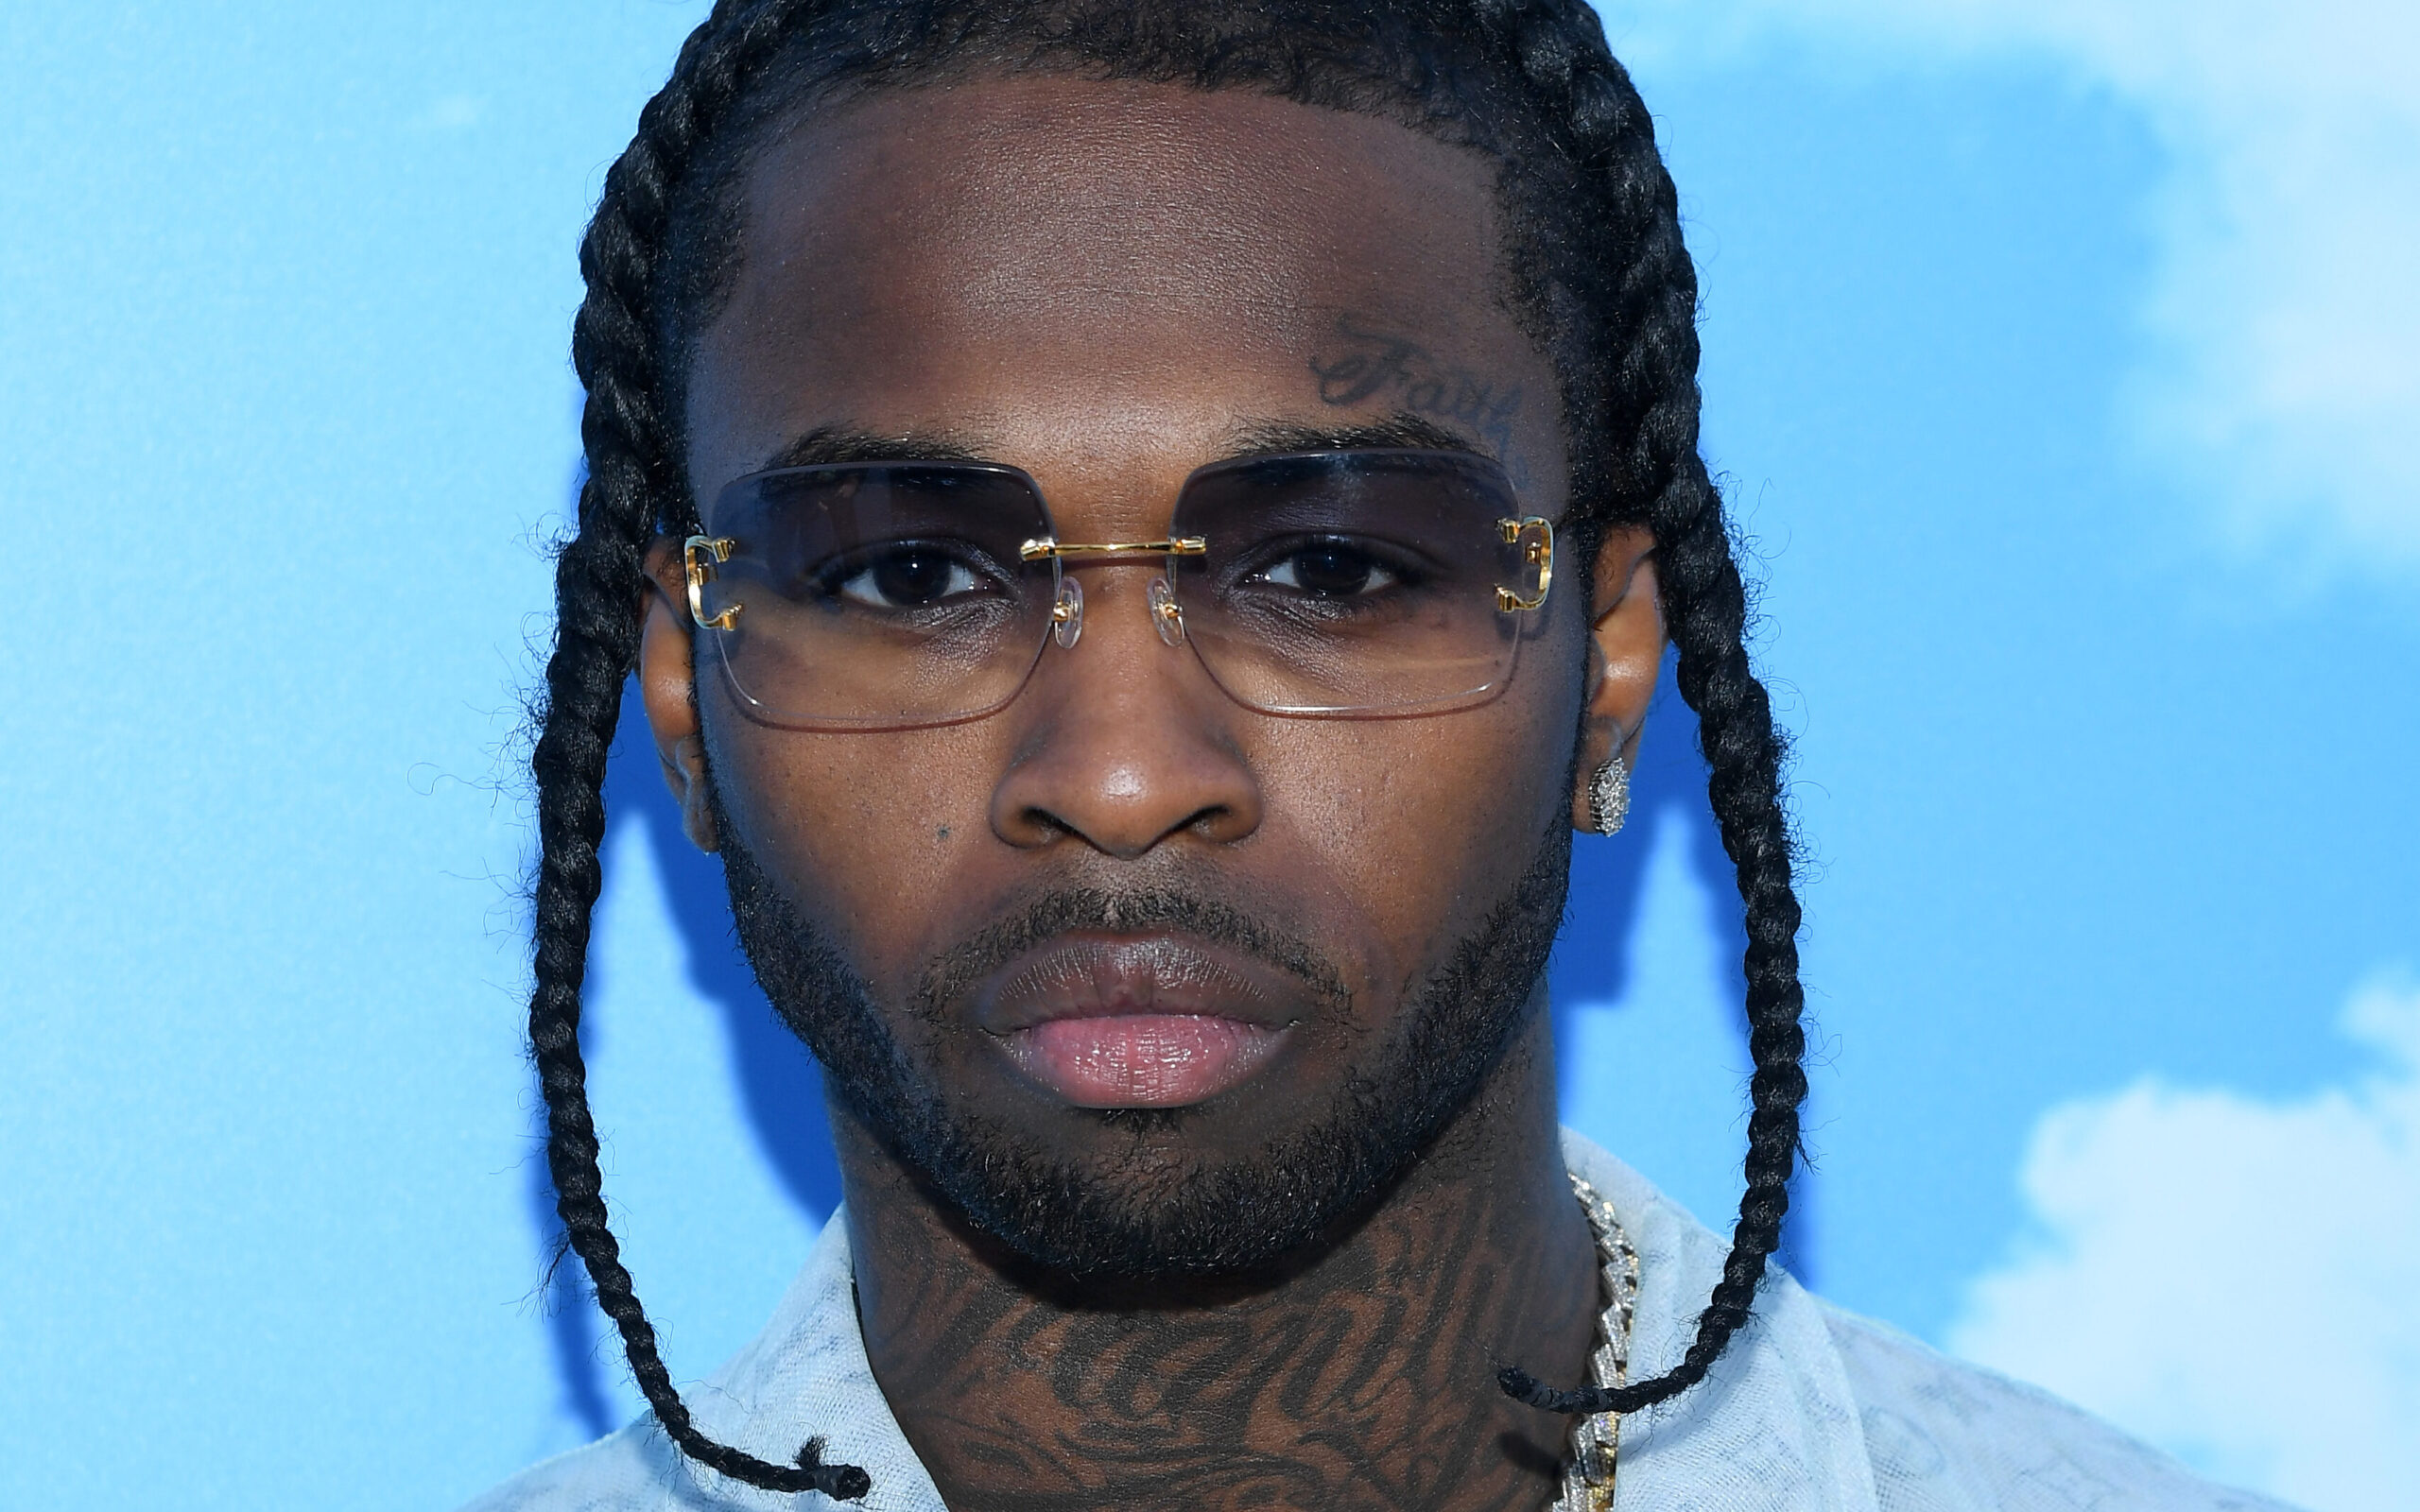
Being a boy mom means keeping up with all of the latest hair trends. Among a revolving line of styles, Pop Smoke braids have remained a standout trend, capturing the essence of the late rapper’s signature look.
Protective styles, like Pop Smoke braids, are essential for maintaining hair health, reducing breakage and promoting growth, all the while keeping your kid happy and looking cool at school. Here’s what to know about Pop Smoke braids, and how to do them on your kids.
What Are Pop Smoke Braids?

Pop Smoke braids are a type of braided hairstyle inspired by the late rapper Pop Smoke, known for his distinctive look characterized by medium to large-sized cornrows. They are often styled into a sleek, polished finish. This style not only pays homage to the artist, but also serves as a versatile and practical protective style. The braids can be styled in various lengths and can be customized with added hair for more volume or length.
How to Do Pop Smoke Braids
Giving your son Pop Smoke braids is pretty easy. With the right materials and a breakdown of the technique, you can achieve this stylish look that protects your son’s hair while giving him a fresh and trendy look.
Materials Needed
Before starting your braiding journey, gather the following materials:
- Hair Extensions: Choose braiding hair that matches his natural color.
- Comb: A rat-tail comb is ideal for parting his hair neatly.
- Hair Clips: Use these to section off his hair while you work.
- Edge Control or Gel: Helps to smooth edges for a polished finish.
- Moisturizer: Keep his natural hair hydrated during the braiding process.
- Hair Ties: Small, durable ties to secure the ends of the braids.
Pop Smoke Braids Tutorial
- Prep His Hair: Start with clean, dry hair. Apply a leave-in conditioner or moisturizer to keep their hair hydrated throughout the braiding process.
- Section His Hair: Use a rat-tail comb to create straight parts. Depending on your preference, you can choose medium or large sections. Secure each section with hair clips.
- Apply Edge Control: Take a small amount of edge control or gel and apply it to his edges and the parts to give a neat appearance.
- Begin Braiding: Take a section of hair and split it into three parts. Start a basic three-strand braid. As you braid, gradually incorporate the hair extensions by adding small pieces to the outer strands.
- Continue Braiding: Keep braiding down to the desired length. Ensure the tension is even throughout to avoid pulling on his scalp.
- Secure the Ends: Once you reach the end of the braid, secure it with a small hair tie. If desired, you can dip the ends in hot water to seal them and give a polished finish.
- Repeat: Continue this process for the remaining sections until all his hair is braided. Once all braids are complete, you can apply some oil or serum to add shine and reduce frizz.