When it comes to those on a natural hair journey, protective hairstyles are a go-to choice. It’s an easy way to maintain the health of your hair while also achieving a stylish, low-maintenance look. Hairstyles, like spring twists, protect the hair from damage caused by environmental stressors, heat styling and frequent manipulation. Protective styles give the hair a break from daily styling routines and chemical treatments, allowing it to grow stronger and healthier.
One protective style that has seen a significant rise in popularity are spring twists. Known for their light, bouncy texture, spring twists are the perfect look for those seeking a versatile yet protective look. Here’s everything to know about spring twists, from what they are to how to do them.
What Are Spring Twists?
Spring twists are a two-strand twist hairstyle with a distinctive, spring-like curl and volume. This is achieved by twisting hair extensions around natural hair in a way that creates a coil-like pattern, giving the hair a lively, curly texture. Spring twists are often smaller than traditional twists, offering a more defined and springy look.
Unlike other protective styles like box braids or Senegalese twists, spring twists are lighter and fluffier, providing more movement and bounce. Spring twists help minimize breakage while offering a chic, easy-to-maintain option that can last for weeks.
How to Do Spring Twists
While a professional stylist can do spring twists, depending on your skill level and the amount of time you want to dedicate to the process, you can achieve them at home, too.
Materials Needed
- Hair Extensions: The key to achieving the signature springy look is the hair extensions. Opt for hair that’s pre-twisted or in a springy texture that mimics the desired curl pattern.
- Leave-in Conditioner or Moisturizer: To prepare your natural hair and keep it hydrated, apply a leave-in conditioner or a moisturizer.
- Edge Control Gel: To smooth and lay down your edges for a neat finish, edge control gel is a great tool. Look for one that provides hold without flaking.
- Comb or Rat Tail Comb: This will help you section your hair evenly before starting your twists.
- Hair Clips: These will help you keep hair sections out of the way while working.
- Scissors: To trim the extensions or clean up any stray strands.
- Shine Spray or Oil: After twisting, a light shine spray or oil can give your twists a healthy, glossy finish.
Spring Twists Tutorial
- Prep Your Natural Hair: Start by washing and conditioning your hair. Apply a leave-in conditioner or moisturizer to ensure your hair is hydrated. Detangle your hair thoroughly with a wide-tooth comb to remove any knots.
- Section Your Hair: Divide your hair into small to medium sections, depending on how thick or thin you want your twists to be. Use hair clips or elastics to hold the sections in place while you work on each one individually.
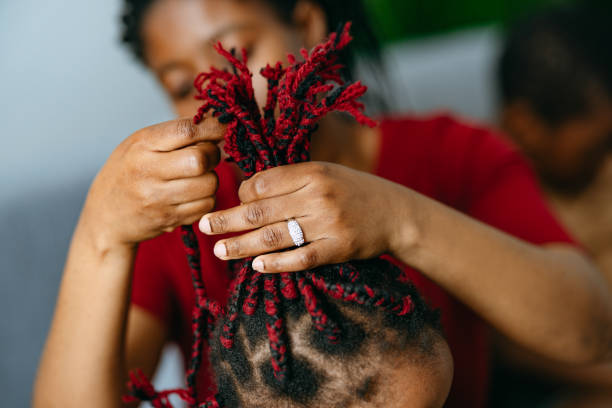
- Install the Spring Twist Extensions: Begin by separating a small piece of the spring twist hair extension. Hold it in place at the root of a section of your natural hair. Create a two-strand twist by dividing both the natural hair and the extension into two parts and twisting them around each other. As you twist, try to maintain a tight yet comfortable twist to ensure that the style lasts. Make sure you’re twisting the hair in a way that allows the extension to mimic a spring-like curl. It should have some bounce and volume, rather than a flat or loose twist. If necessary, apply a bit of edge control to smooth out the roots for a cleaner, more polished look.
- Continue Twisting: Work your way down the length of the hair, twisting the natural hair with the extension until you reach the end. Once you reach the end of the section, secure the twist with a small elastic band. Alternatively, you can tie off the twist by simply using the natural curl of the extension to hold it in place.
- Repeat: Continue this process on the rest of your hair, working in small sections. Be sure to keep your twists neat and uniform. Take your time to ensure that each twist is tight and the extensions are securely attached.
- Trim the Ends: Once all the twists are in place, you can trim the ends to give them a neat, uniform look. Alternatively, you can leave the ends as is for a more natural, relaxed finish.
- Finishing Touches: After finishing your twists, apply a light sheen spray or oil to your twists to give them a healthy, glossy shine. You can also use edge control to smooth down any flyaways along the hairline for a sleek look.