Embarking on a loc journey is far beyond just a hairstyle. It’s a deeply personal and transformative process that connects you to your cultural heritage, individuality and spiritual growth. Whatever the reason the journey finds you, it’s a critical lesson learned on patience and care. The path to fully mature locs begins with starter locs, the first step in an empowering hair transformation.
Whether you’re considering locs for cultural, aesthetic or spiritual reasons, understanding how to start your journey properly is crucial. Here’s everything to know about starter locs, from their significance to a step-by-step tutorial.
What Are Starter Locs?
Starter locs are the initial stage in the process of growing locs, a hairstyle that involves matting and interlocking hair strands into defined, rope-like locks. At this early stage, the hair is usually sectioned into small, uniform parts and styled in a way that encourages the hair to begin its locking process. The goal is to get the hair to tangle, form clumps, and eventually mature into fully formed locs.
Starter locs can take several months to start showing signs of true locking, but they lay the foundation for a beautiful. and meaningful hair journey. You may feel a sense of anticipation and excitement at this stage, embarking on a process that deeply impacts your self identity. While they may look like simple twists or coils at first, starter locs require patience and care as they evolve into mature locs. The exact appearance and texture of starter locs varies depending hair type, the method used, and individual growth patterns.
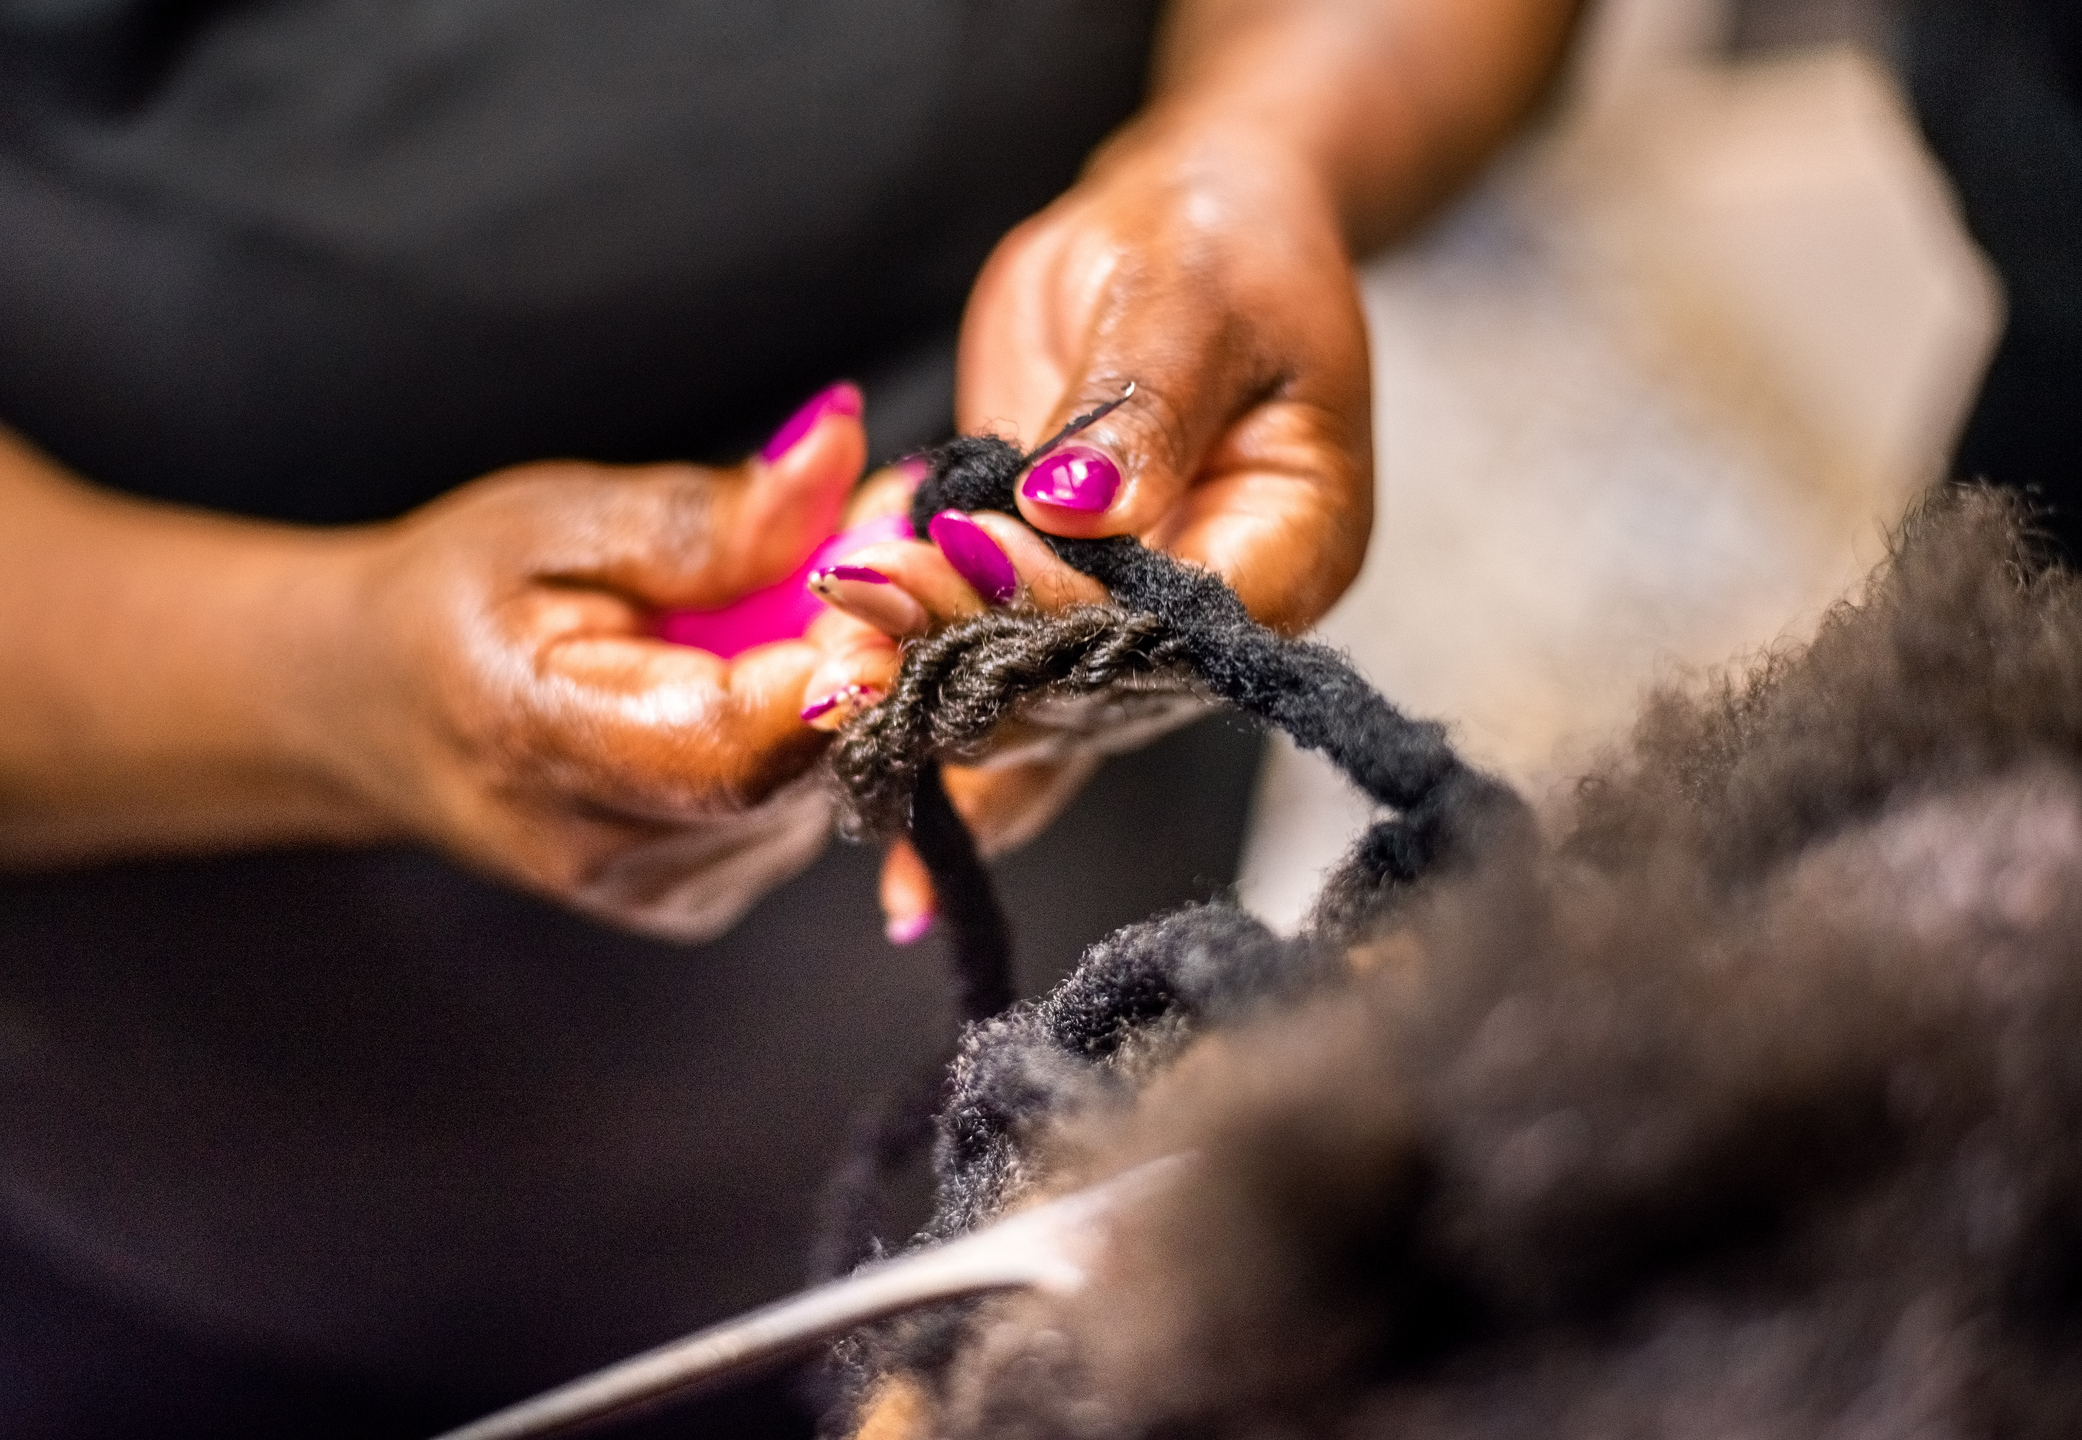
How to Do Starter Locs
There are various methods for starting locs, but the most common techniques are the twist method, the coil method, and the braid method. Being that the twist method is one of the simplest and most beginner-friendly, here’s how to do it.
Materials Needed
- Hair Clips: To section your hair and keep it neat as you work.
- Rat-tail Comb: For creating small, uniform sections.
- Hair Moisturizer: To keep your hair hydrated and healthy during the process. A lightweight leave-in conditioner or natural oils like coconut or jojoba oil work well.
- Gel or Wax: While some people prefer to start locs without any product, others use a natural locing gel to help the hair hold its shape as it starts to lock.
- Edge Control: To keep edges neat if desired.
- Towel: For any product clean-up.
- Patience and Time: Starter locs can take hours to create, depending on your hair length and texture. Be prepared to spend a good amount of time on this process, especially if you are starting with long hair.
Starter Locs Tutorial
Here’s a simple step-by-step guide to creating your starter locs using the twist method:
- Cleanse and Detangle Your Hair: Start with freshly washed hair. You want to ensure your hair is free of product buildup, dirt, or oils. Apply a good conditioner to soften your hair, then detangle it carefully using a wide-tooth comb or fingers. Dry your hair with a towel until it’s damp, not soaking wet.
- Section Your Hair: Using the rat-tail comb, section your hair into small, uniform parts. You can choose how large or small you want each section to be, but smaller sections tend to create more defined locs. Make sure each section is neat and clean—using clips to keep them separated can help.
- Apply Moisturizer or Locing Product: Apply a light moisturizer or locing gel to each section as you go. This helps keep your hair hydrated and also encourages the locking process. Be mindful not to use too much product, as excess buildup can hinder the locing process.
- Twist the Sections: Once the sections are prepared, start twisting each one tightly in a clockwise or counterclockwise direction. If you’re using the two-strand twist method, take two strands of hair from each section and twist them around each other until you reach the end of the section. For a more defined loc, make sure to twist tightly but not so tight that it causes breakage or discomfort.
- Secure the Ends: To help your twists stay in place, you can use a small rubber band or a loc clip at the end of each twist to secure them. This will prevent them from unraveling as they begin the locking process.
- Maintain and Wait: Once all sections are twisted, allow your starter locs to dry and set. This may take a few hours depending on the thickness of your hair. After the locs have set, make sure to keep them moisturized, and avoid manipulation. Over time, your locs will begin to mat and form tighter, more defined locks.