Braids have long been a stylistic staple in the Black community, admired for their practicality, beauty and adaptability. From intricate cornrows to simple box braids, their versatility offers an array of possibilities. Over the years, braids have evolved to encompass a range of styles and techniques, including tree braids.
Tree braids are not only visually stunning, but also offer the advantage of lightweight, protective styling. They lend to a natural flow of hair with the added benefits of braiding. Popular for its blend of convenience and beauty, it’s a go-to choice for those seeking a new, stylish way to wear their hair.
What Are Tree Braids?
Tree braids are a hairstyle that combines the appearance of loose, flowing hair with braiding. This style involves cornrowed sections of hair at the scalp, with loose, straight hair added to the braided base. The result is a hairstyle that mimics the look of natural, unbraided hair with the security and longevity of a braided installation.
The term “tree braids” comes from the visual resemblance to branches of a tree, where the braids serve as the “trunk,” while the added hair creates the “branches.” This style is particularly loved for its natural look and feel, while still providing the protective benefits of a braided hairstyle. It’s often more lightweight and less bulky than traditional braids.
How to Do Tree Braids
Creating tree braids requires both time and patience, but the result is definitely worth the effort.
Materials Needed
- Pre-braided or loose hair extensions: These will be woven into your cornrows. Choose extensions that match your natural hair texture or experiment with fun colors and textures.
- Rat-tail comb: A fine-toothed comb is essential for parting and sectioning the hair neatly.
- Hair gel: Used to smooth down any flyaways and to help with the braiding process.
- Small hair elastics or rubber bands: These will secure the ends of the braids.
- A crochet hook: If you’re using crochet method to install the extensions.
- Scissors: To trim the ends of the extensions or to clean up any stray hairs.
- A hairdryer or setting spray: To finish the style and set everything in place.
Tree Braids Tutorial
- Prep Your Hair: Start by washing, conditioning, and thoroughly drying your hair. Detangle your hair to ensure it’s smooth and easy to work with. Apply a leave-in conditioner or hair serum to keep it moisturized.
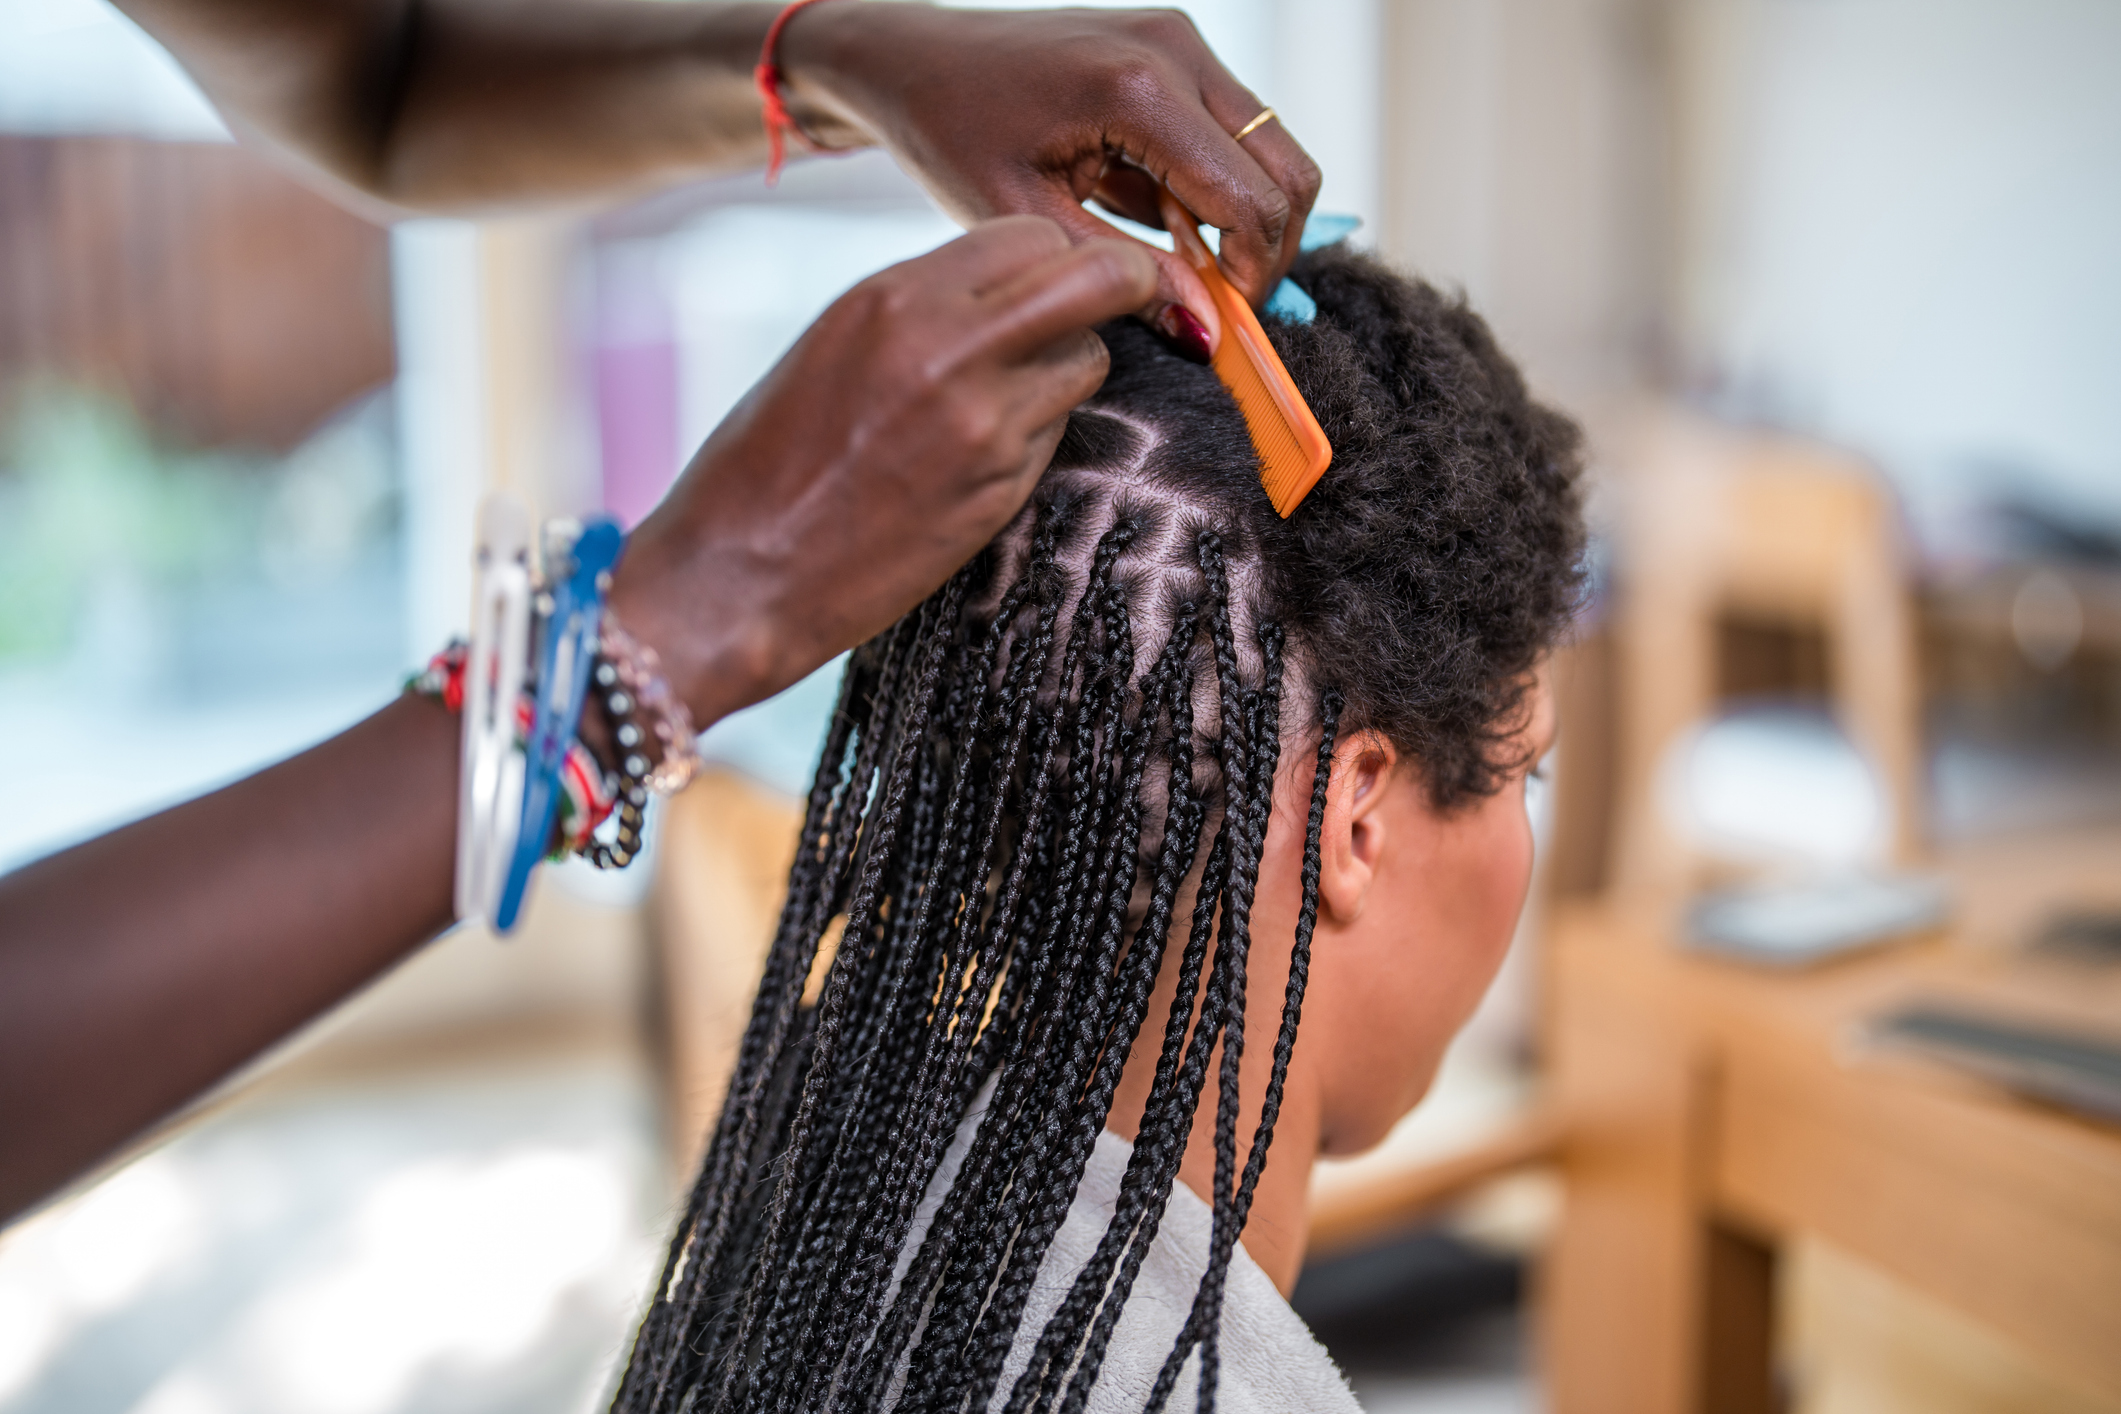
- Section Your Hair: Use a rat-tail comb to create small, even sections of hair, parting from the front to the back. You can create square or triangular sections depending on the look you want. Secure each section with a clip to keep them out of the way.
- Create Cornrows: Begin by cornrowing each section of hair close to the scalp. Unlike traditional braiding, you don’t need to braid all the way down to the end of the hair. Stop when you reach the desired length—typically, a few inches past the scalp.
- Add Extensions: After finishing the cornrow, you’ll need to add the hair extensions. If you’re using pre-braided or loose hair extensions, crochet the extensions into the cornrow using a crochet hook. Another option is to braid the loose hair directly into the cornrow, continuing the braid down with the extensions.
- Blend the Extensions: Once the extensions are in place, let the loose hair fall naturally, blending the ends of your natural hair with the extensions. You can trim or shape the extensions to match your desired length and shape.
- Style and Secure: Use small elastics to secure any loose ends of the braids. You can add setting spray or gel to tame flyaways and smooth down any frizz. Run a hairdryer over your braids to help them set, and apply a finishing spray to lock in the style. You can also curl or straighten the loose hair for a customized look.